

Lion Premium Grills: Replacing Your Rotisserie Orifice
Rotisserie orifice replacement procedure
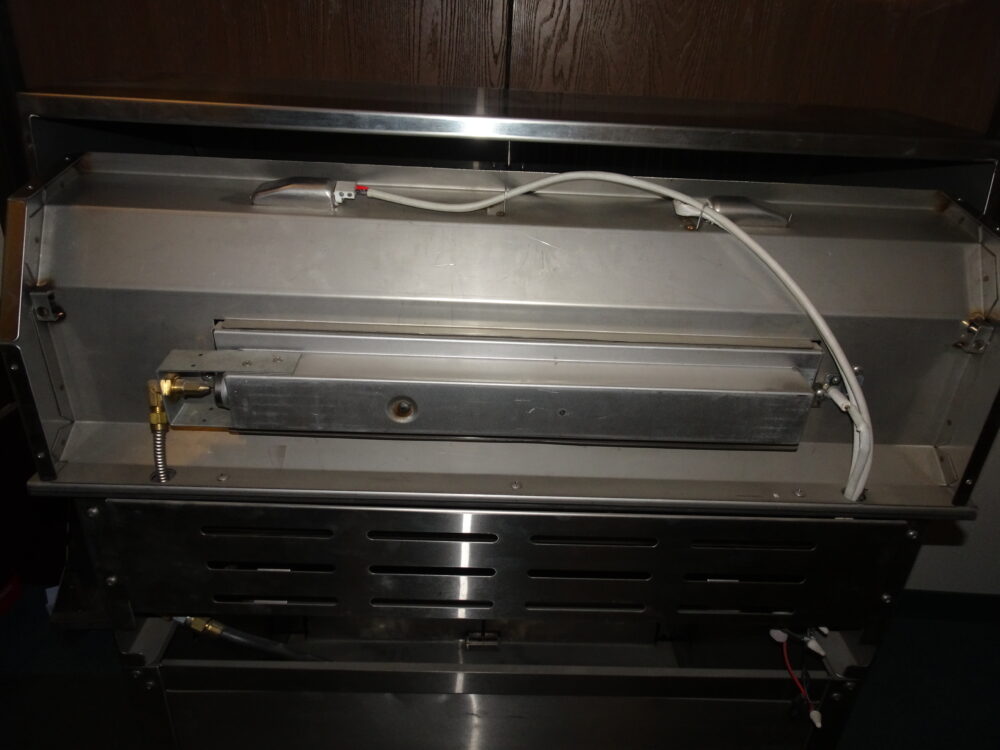
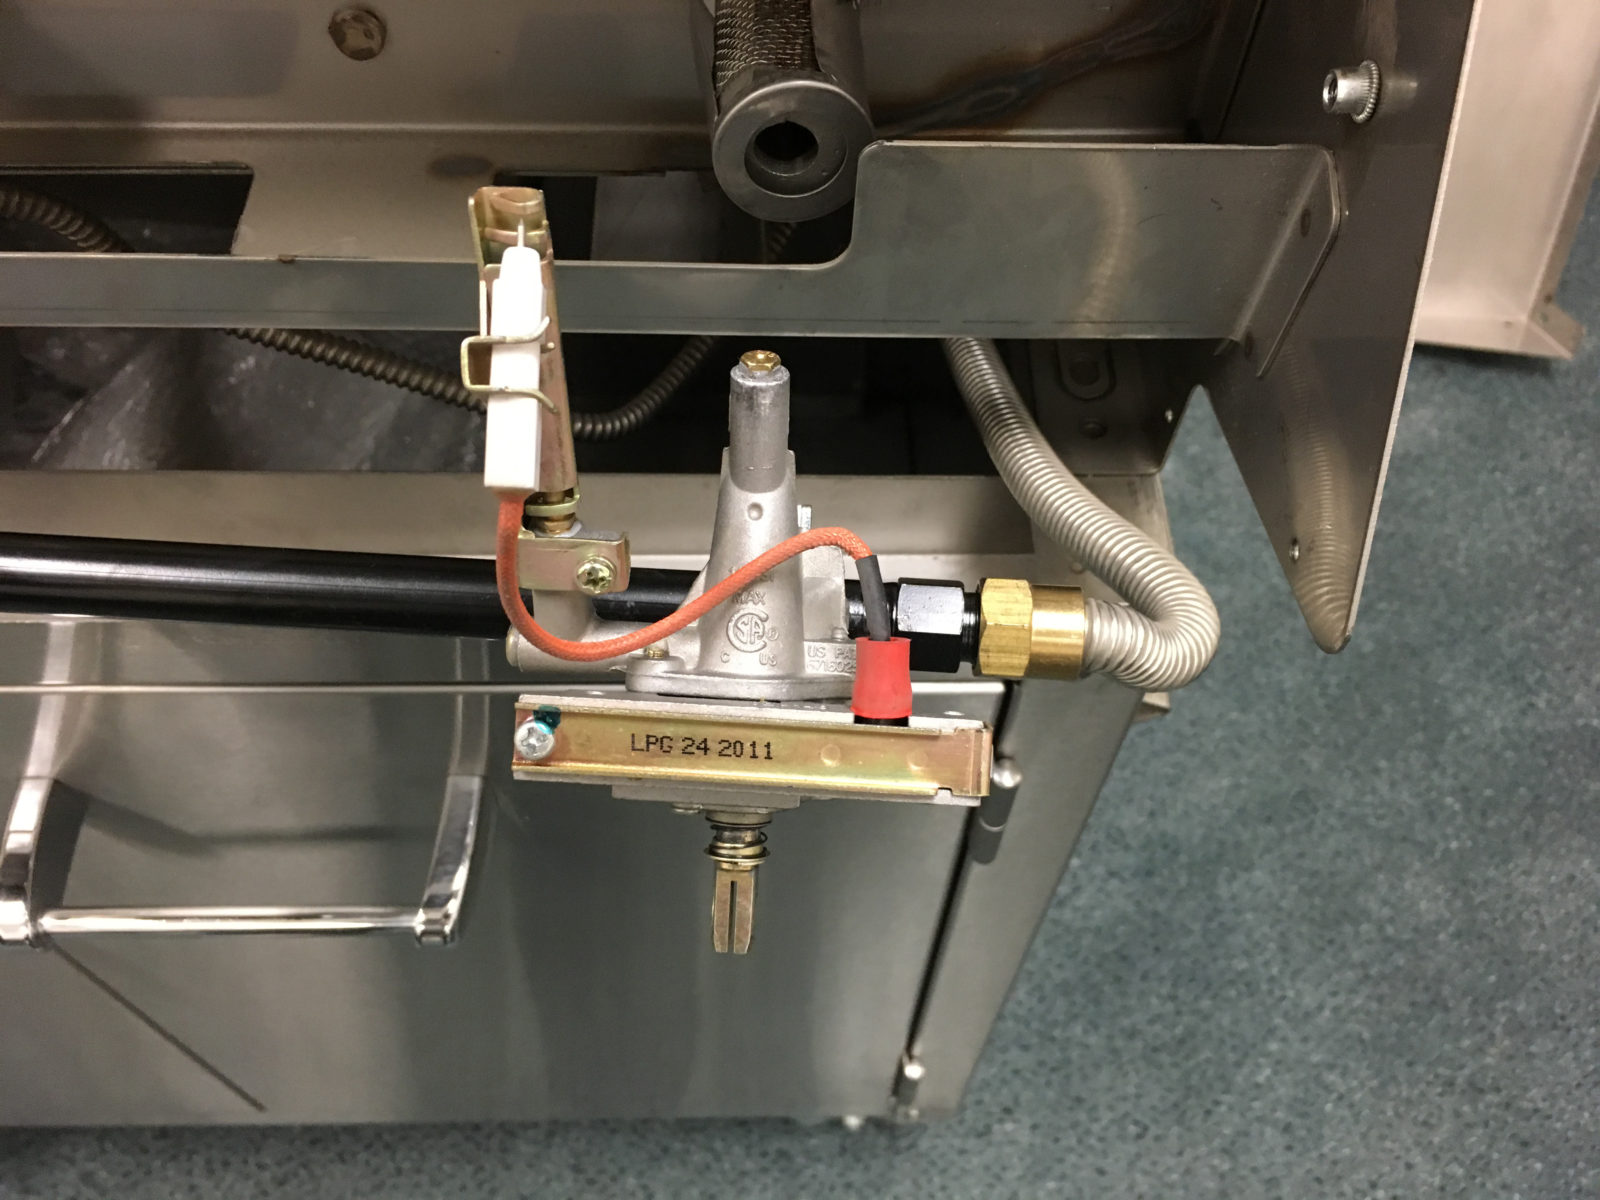
1. To replace the igniter, first remove the rear lid back shield panel. There are eight screws in total that need to be removed in order to remove the panel. Four Philips head screws and four size 4 Hex screws. Once those are off you can pull the panel off exposing the back of the grill. You will see the back side of the rotisserie burner, igniter and lights.

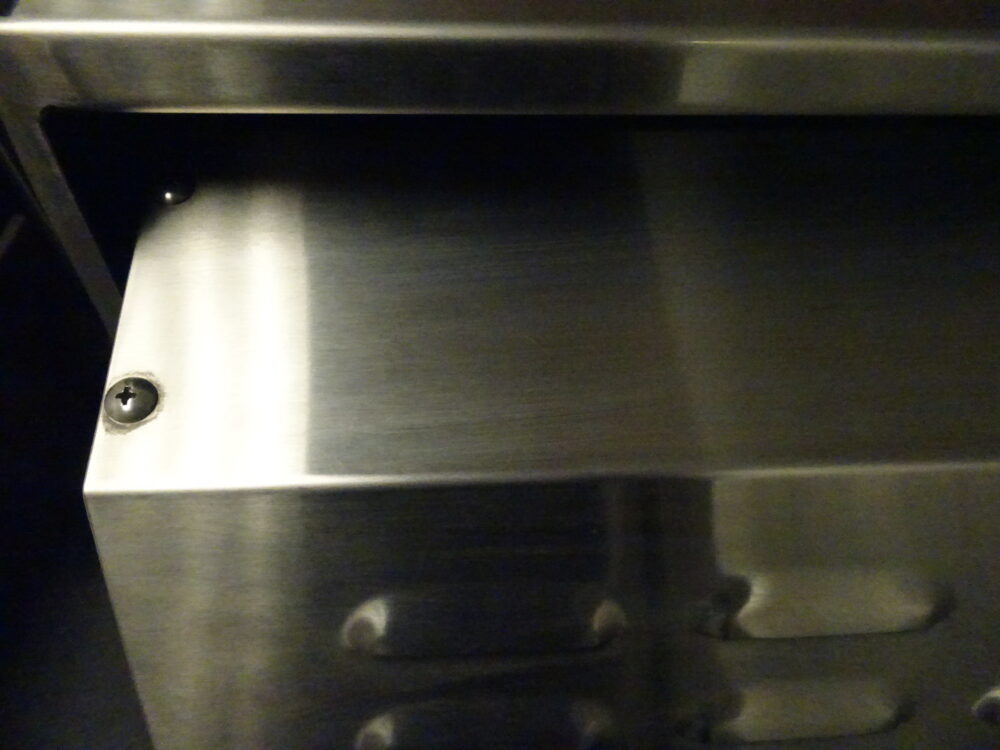
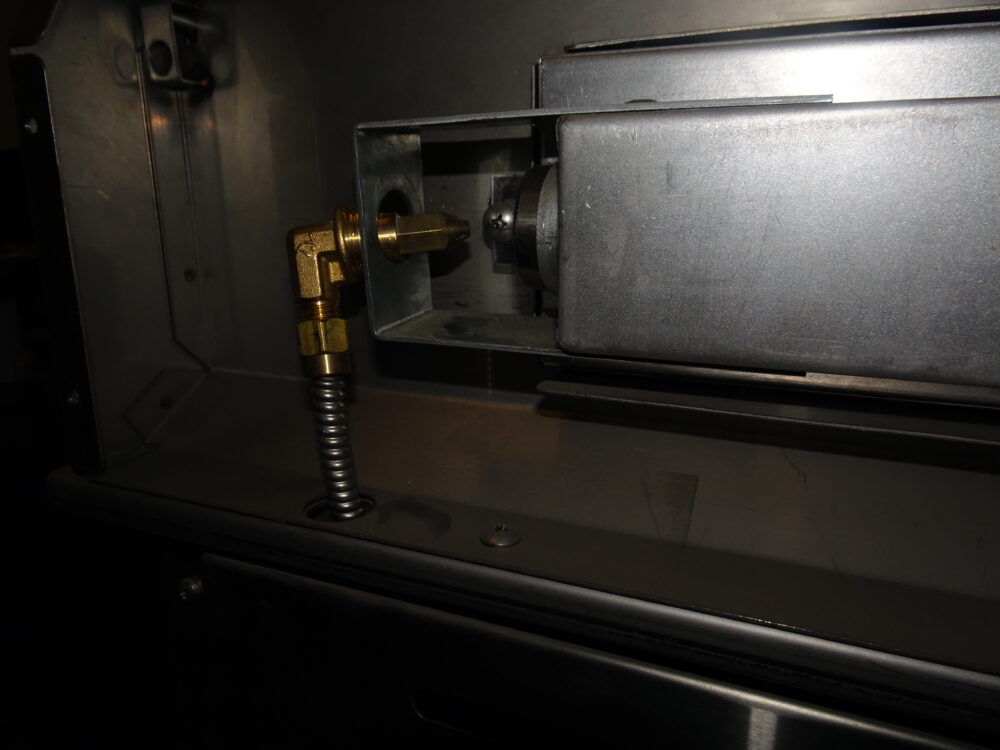
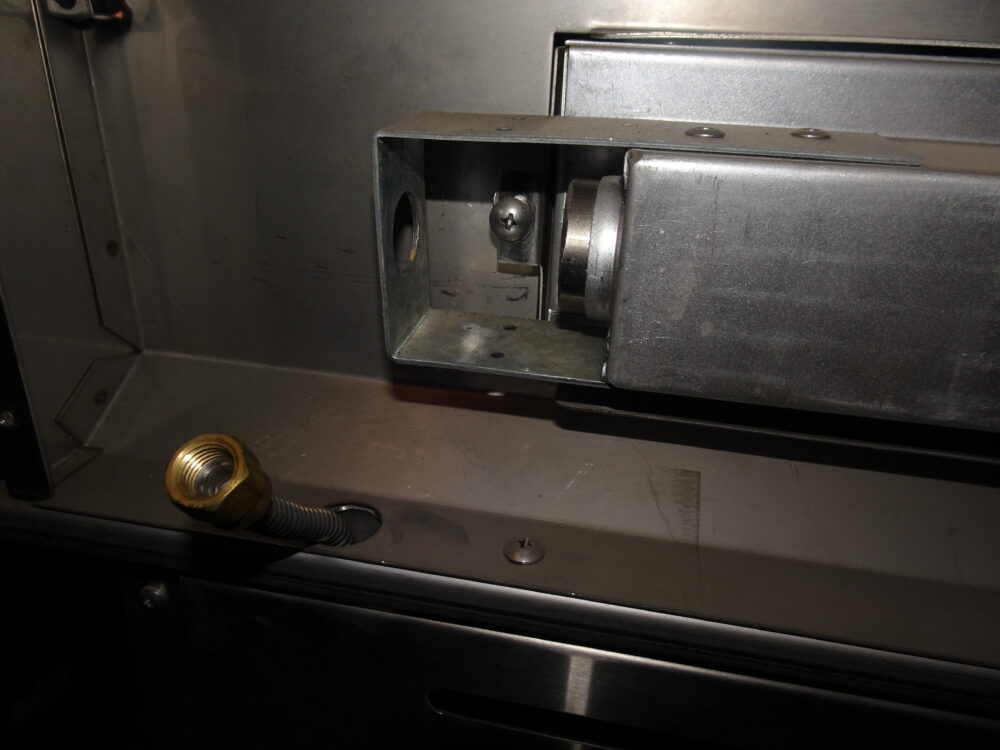
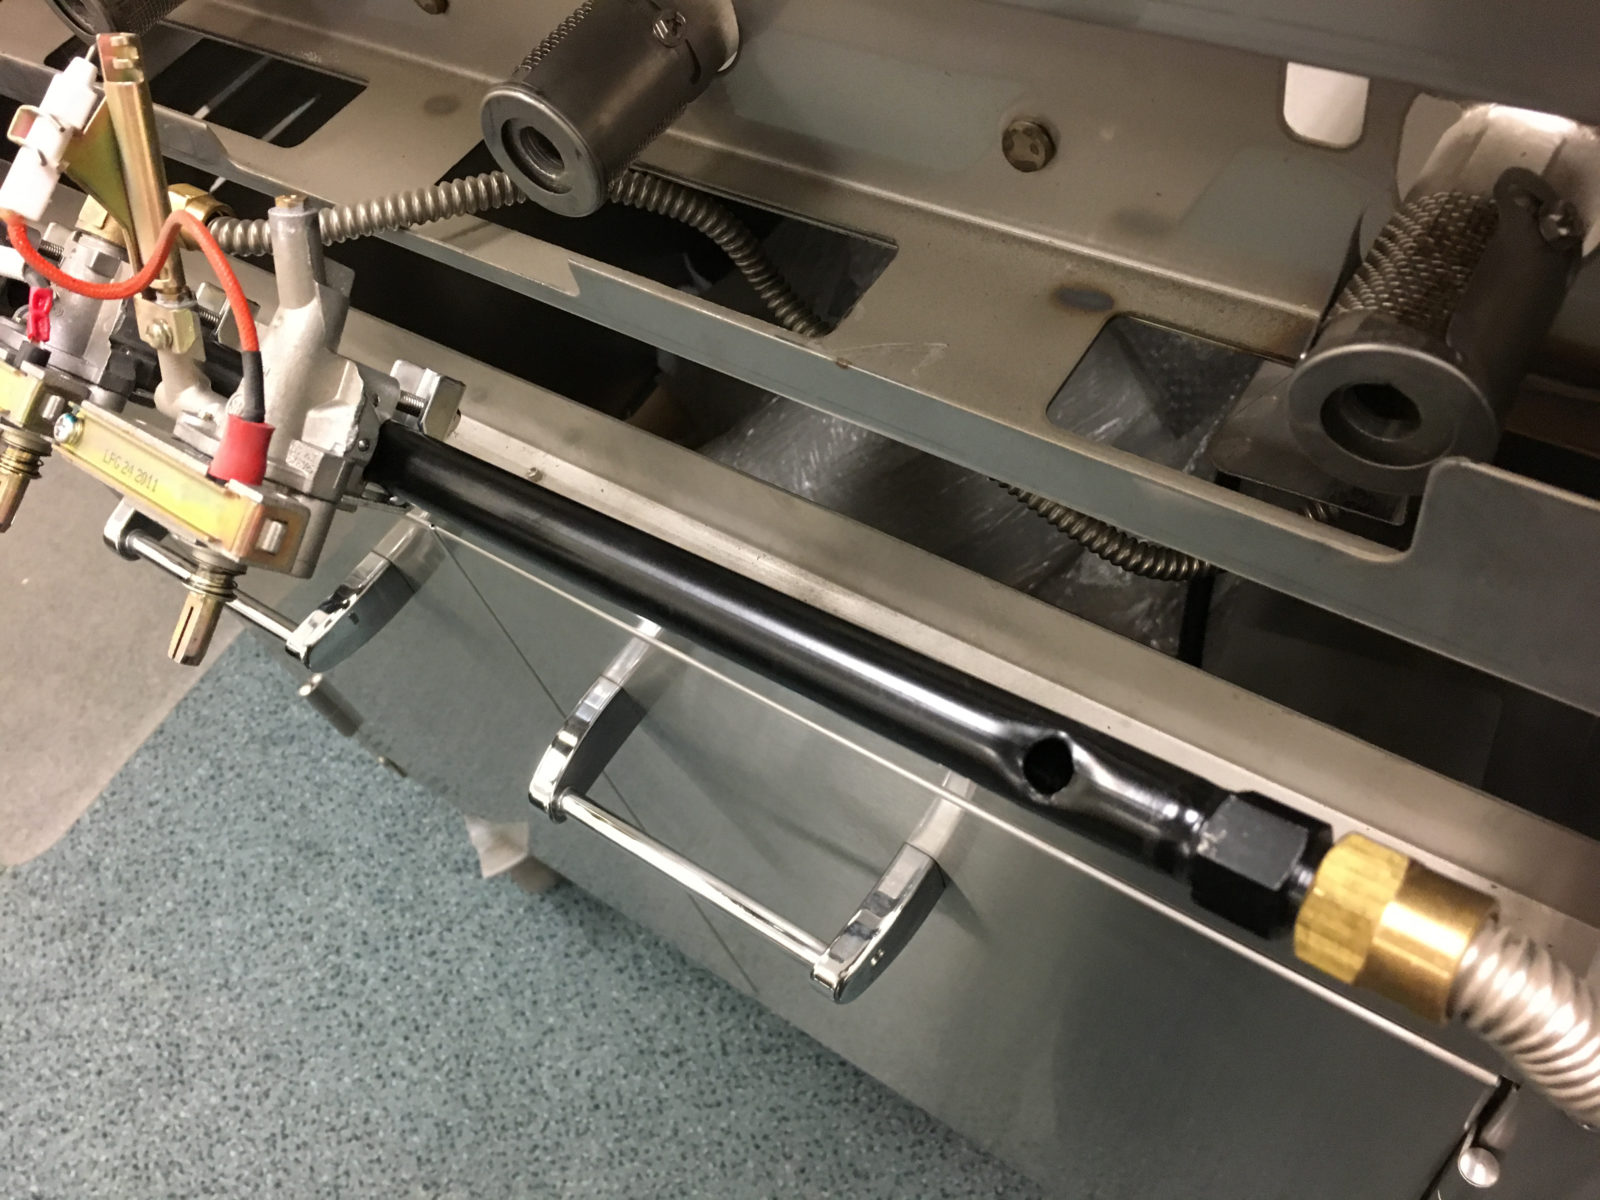
2. Locate the brass rotisserie orifice to the left of the rotisserie burner. In either order, remove the flex line and 7/8″ nut from the orifice. It is recommended to use a crescent wrench to loosen the flex line connection and a 7/8″ fixed wrench to loosen the nut holding the orifice in place. Reverse the process.
Rotisserie igniter replacement procedure
To replace the igniter, first remove the rear lid back shield panel.There are eight screws in total that need to be removed in order to remove the panel. Four Philips head screws and four size 4 Hex screws. Once those are off you can pull the panel off exposing the back of the grill. You will see the back side of the rotisserie burner, igniter and lights.
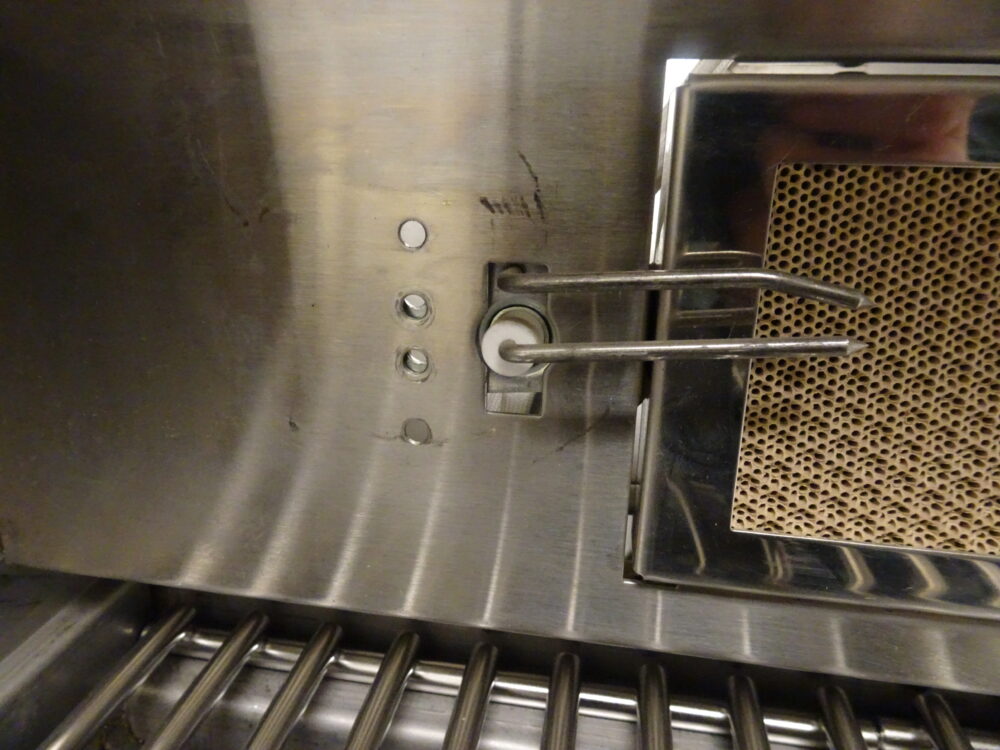
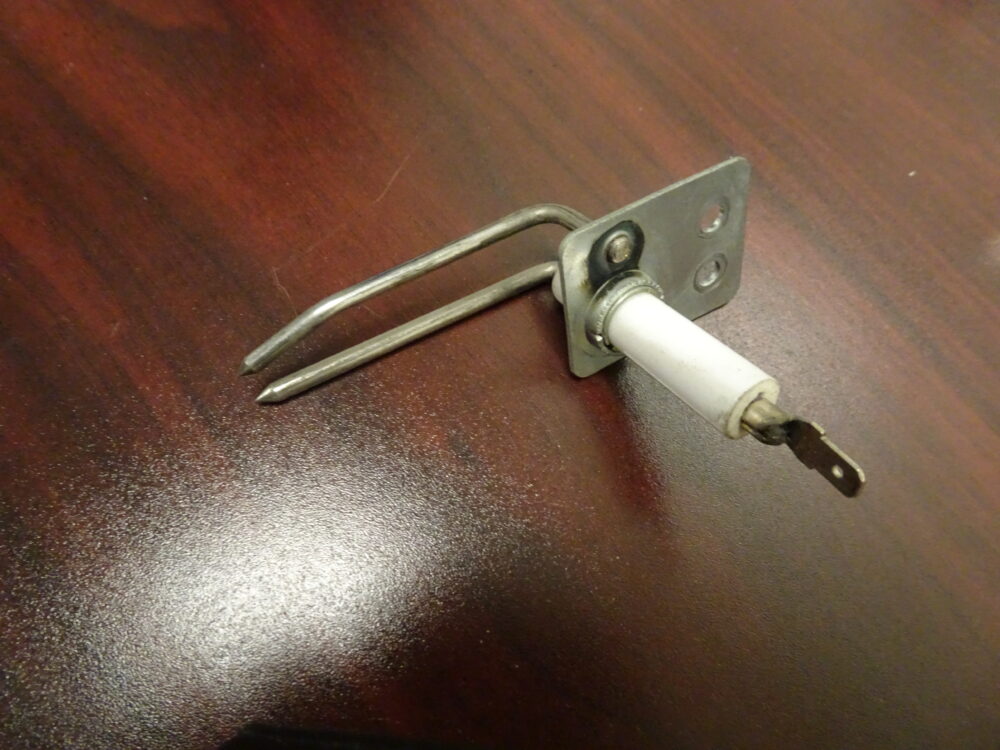
From here you only need to unplug the wire from the rotisserie igniter and then unscrew two screws to remove the igniter.An optional step is to add a small piece of insulating heat shrink tube over the wire before attaching the igniter to the wire. Slide the shrink tube over the wire/igniter connection and take an open flame, preferably from a long stem click lighter, and hover it under the shrink tube until it shrinks tight.Reverse this process, but test the igniter before securing the back shield panel in place.

Light bulb replacement procedure
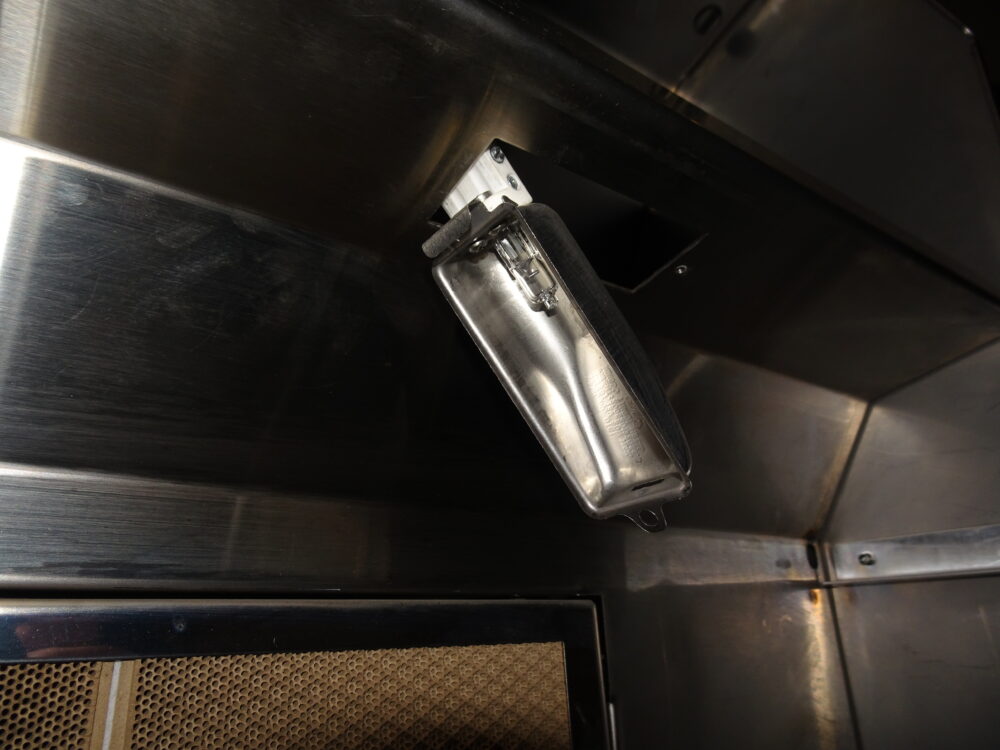
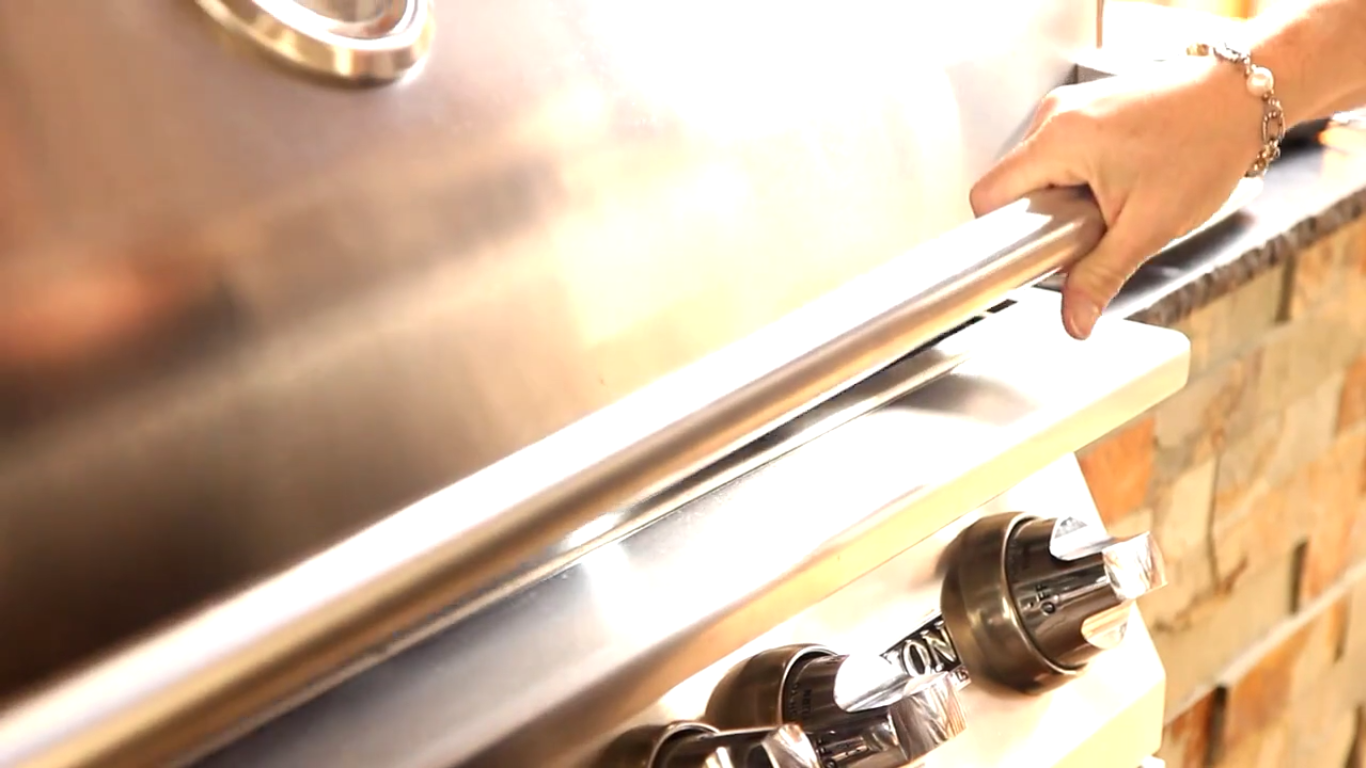
First, remove the warming rack and set aside to access the inner hood.
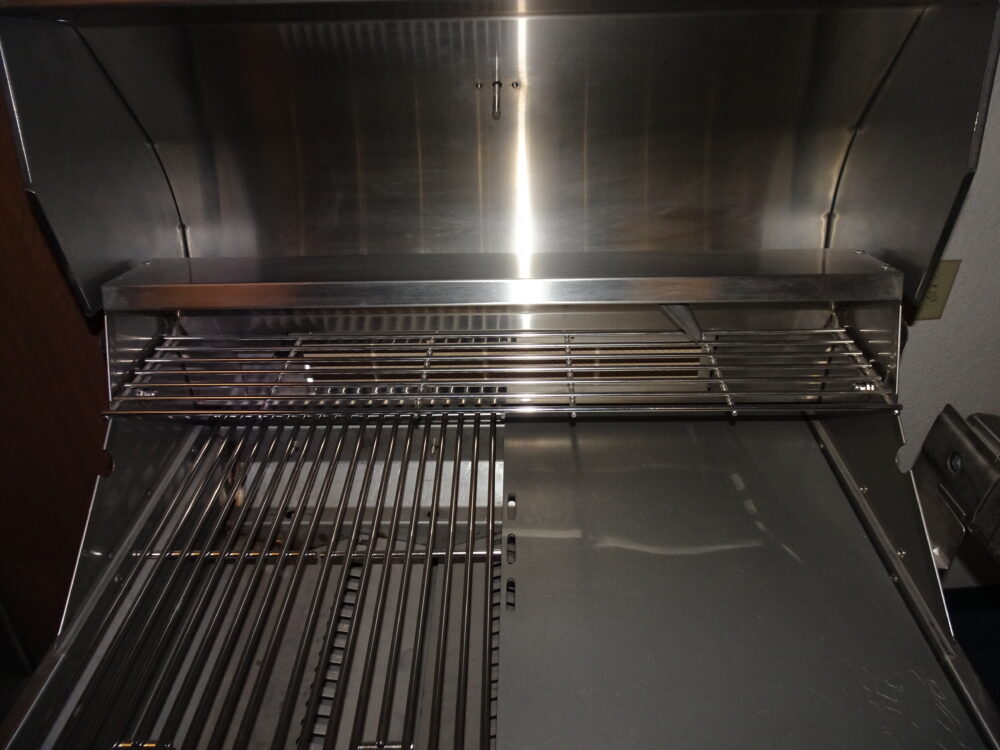
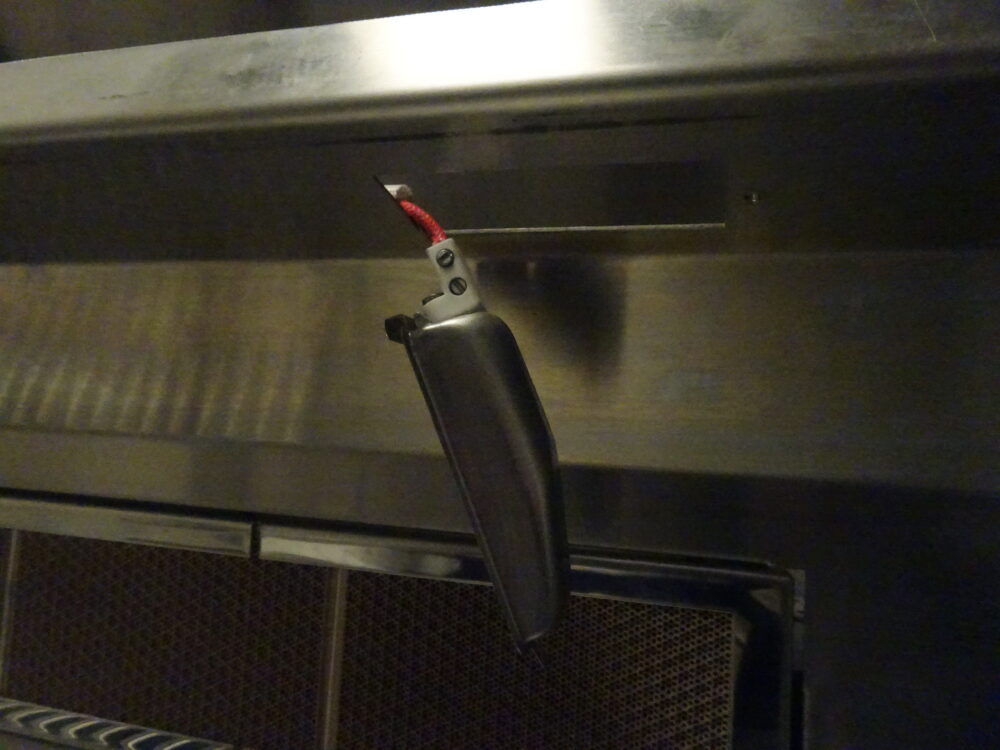
Lay down a towel across the grill grates, use an old one as it will get very dirty, to prevent any screws from falling into the grill and also for ease of comfort when resting your elbows to more easily support yourself.Next, using a Phillips head screwdriver, unscrew the metal housing from the underside of the inner hood.
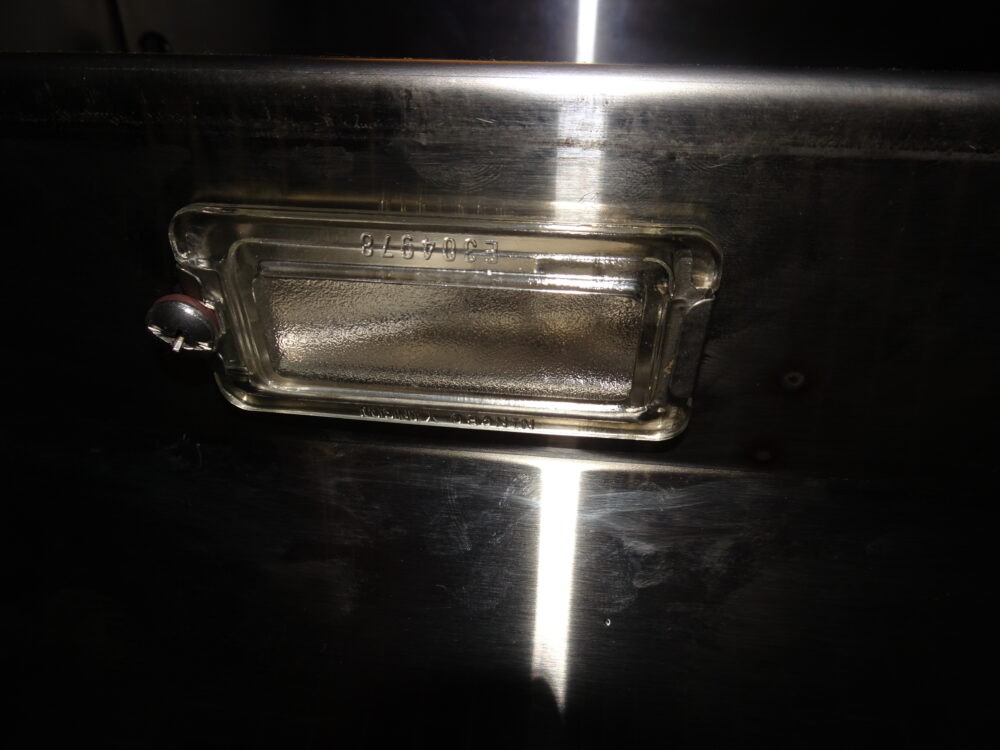
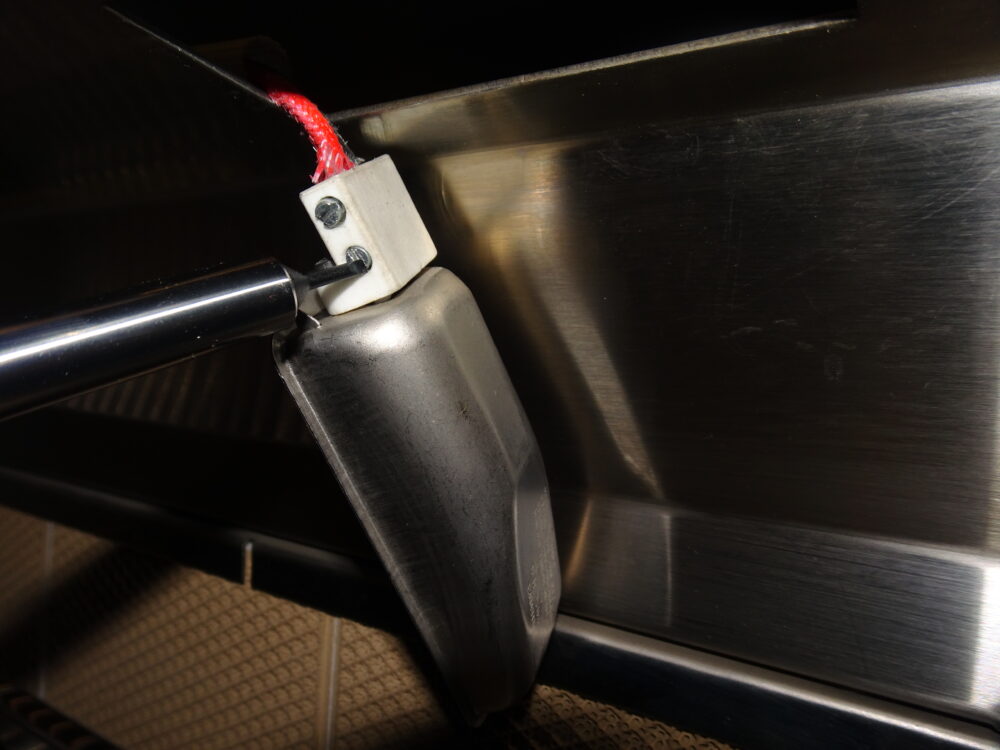
Remove the protective glass lens that covers the lens by bending open the clips on either side of the housing.Pull down the housing so that the wires and white, L-shaped block are exposed.Use a small precision flat head screwdriver to loosen the set screws on the sides of the white, L-shaped block closest to the bulb.
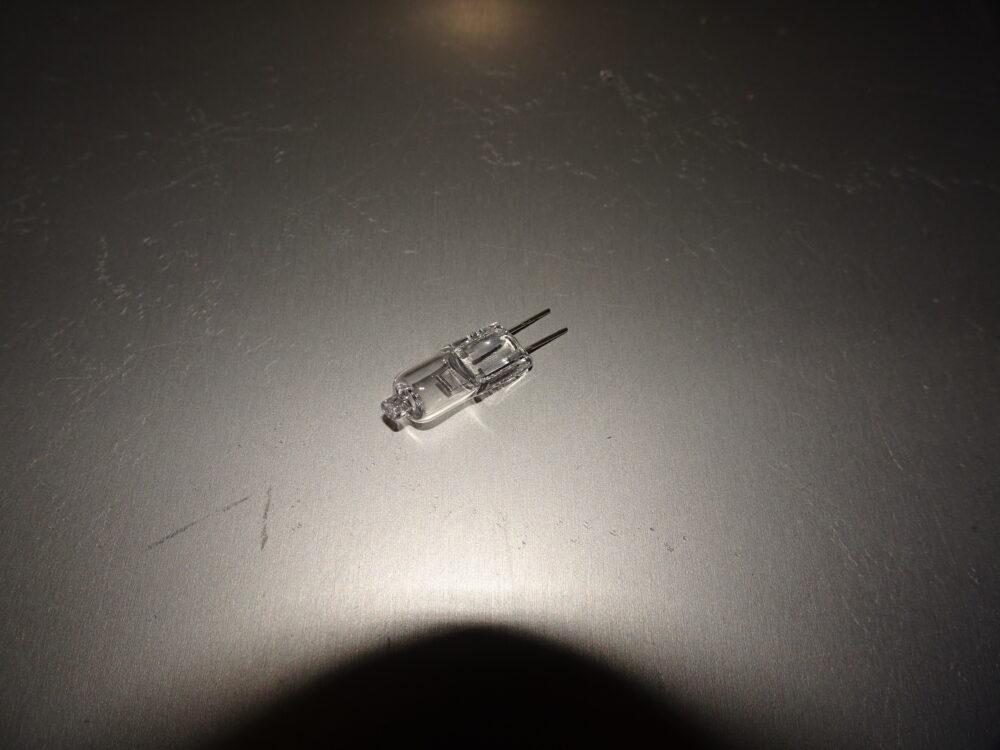
Slip the bulb out of the housing and insert the replacement bulb.Tighten the set screws that were just loosened and reverse the process above.
Here’s an in-depth how to guide on how to adjust the low temperature settings on your Lion grill burners. This process is very useful if you need or want to turn down the heat generated by your burners at their lowest setting; adjust the burner valve will allow you to achieve that ultra low temperature setting that you may be looking for. The difference can be quite substantial, resulting in low heat settings that are up to 250 degrees lower on the lowest setting. Adjusting the low temperature setting on your burners will not effect the top end heat setting in any way.
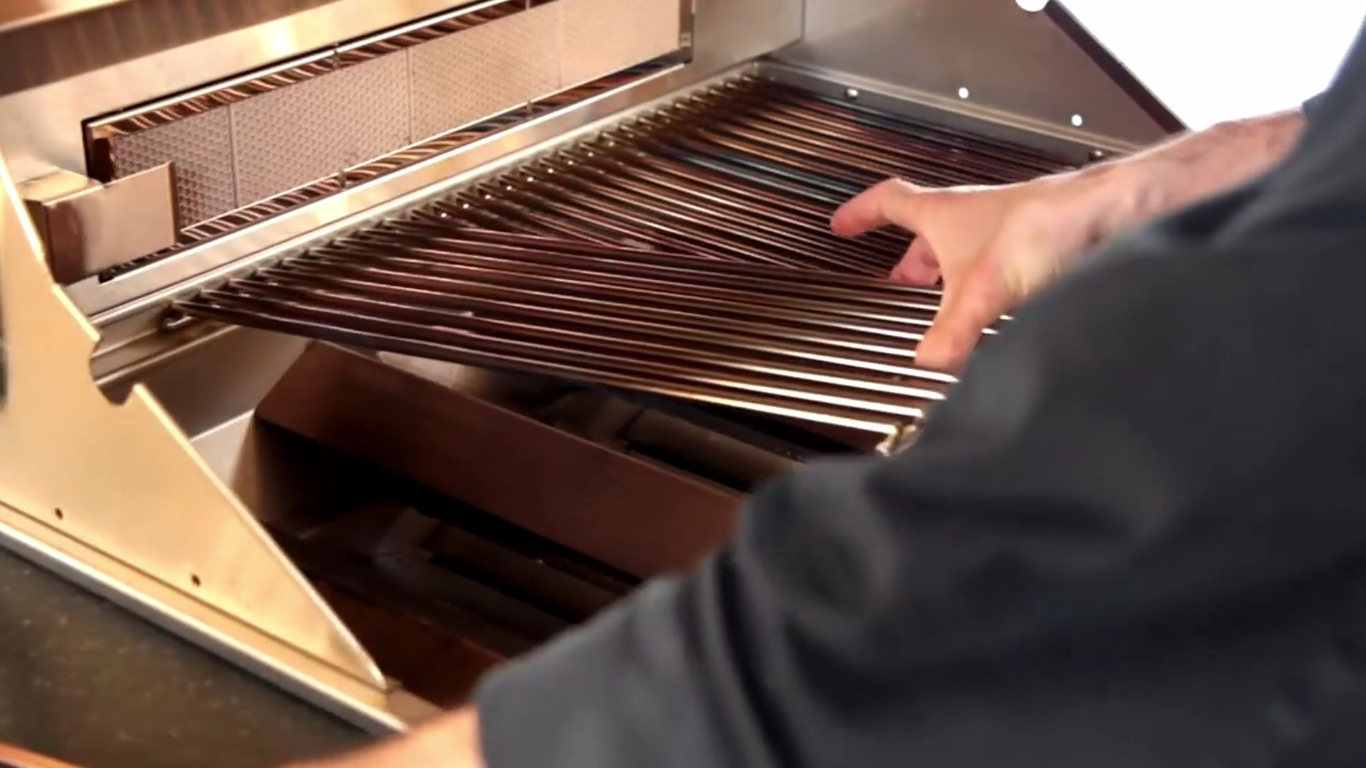
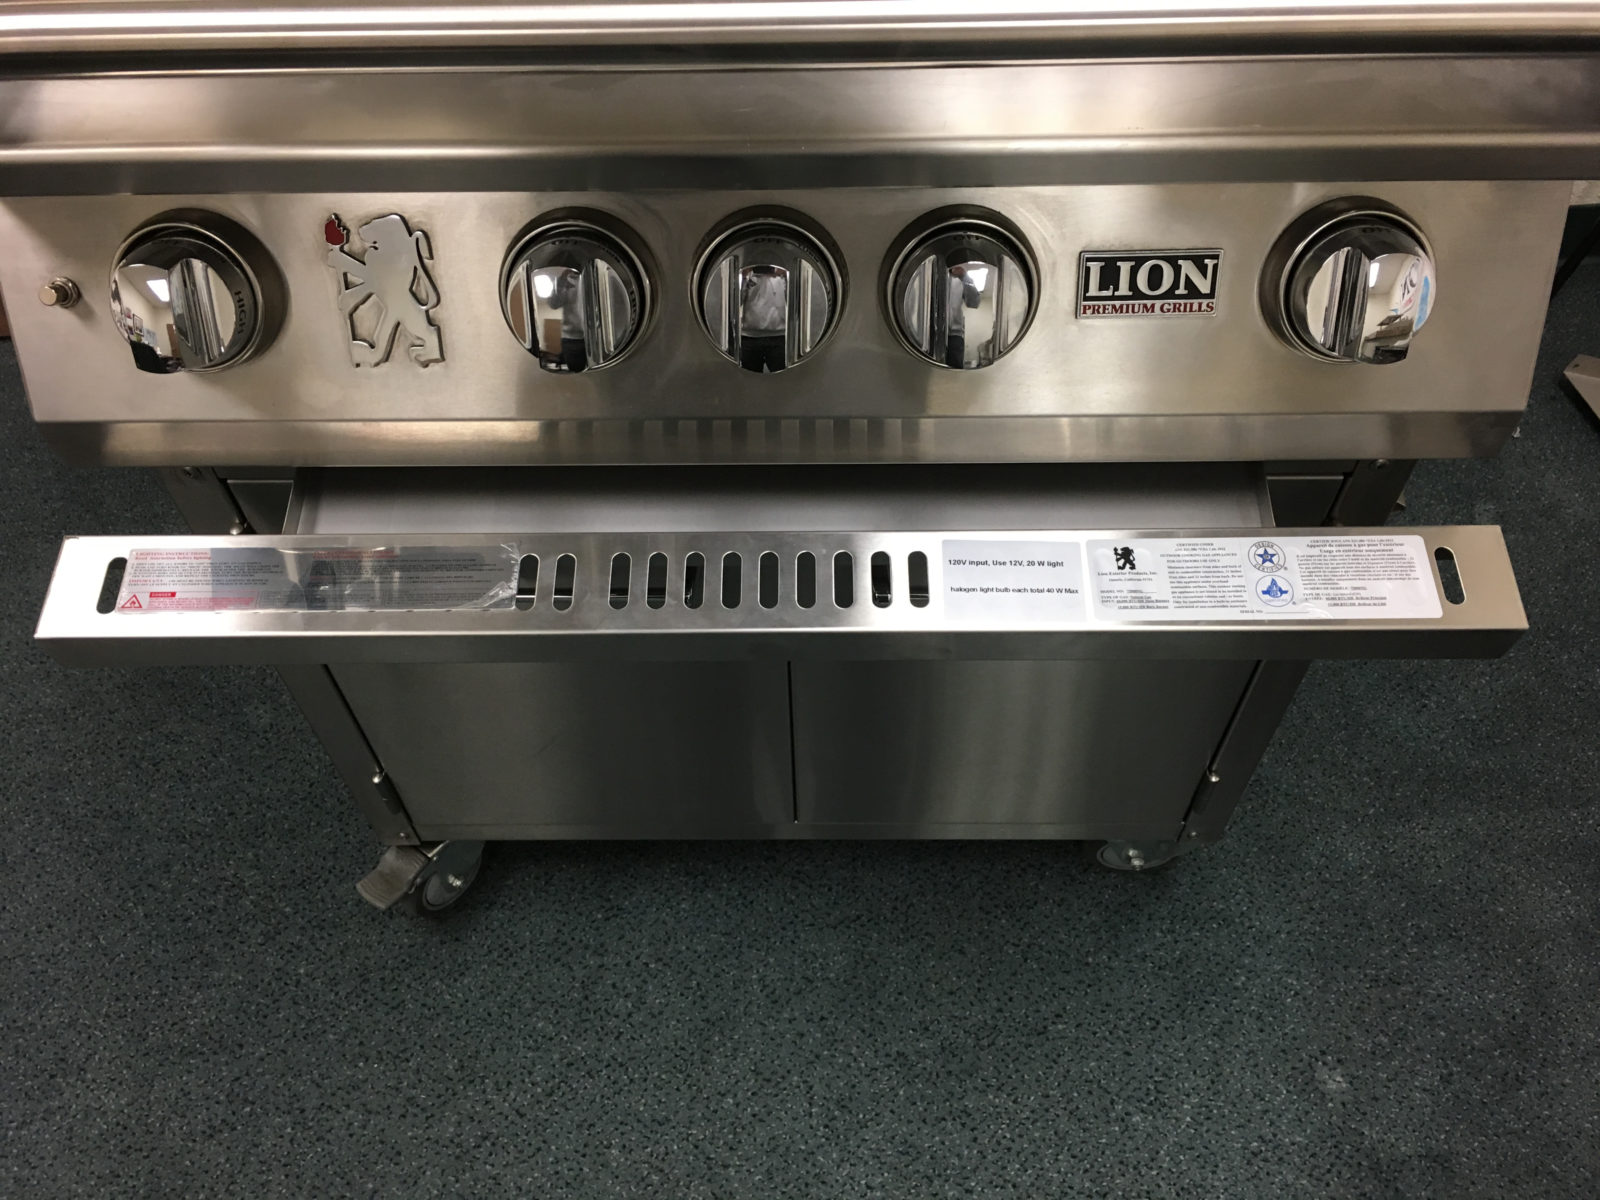
In addition to the video above we’re also going to provide a step-by-step breakdown complete with still images. Once you’re ready to adjust your temperature valves, start by first removing the stainless steel cooking grids. They should lift out of the grill quite easily.
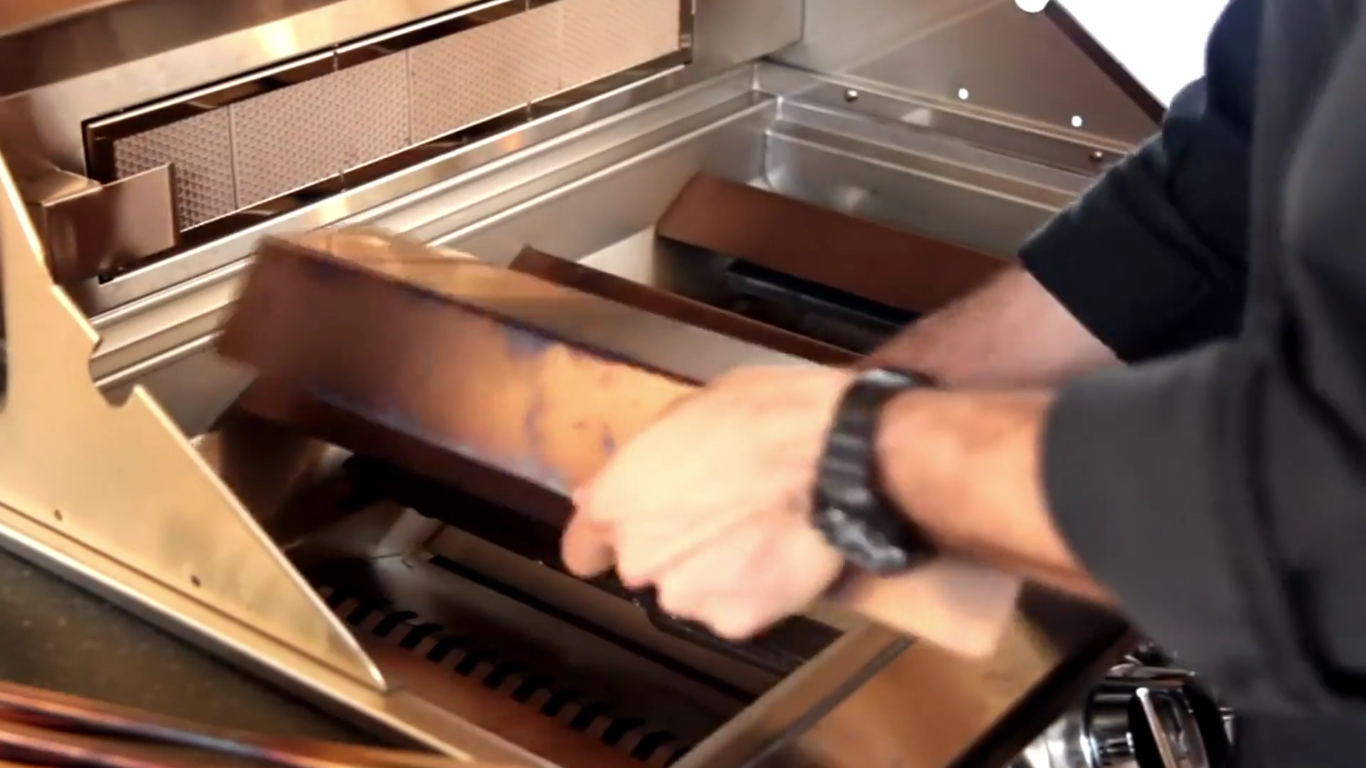
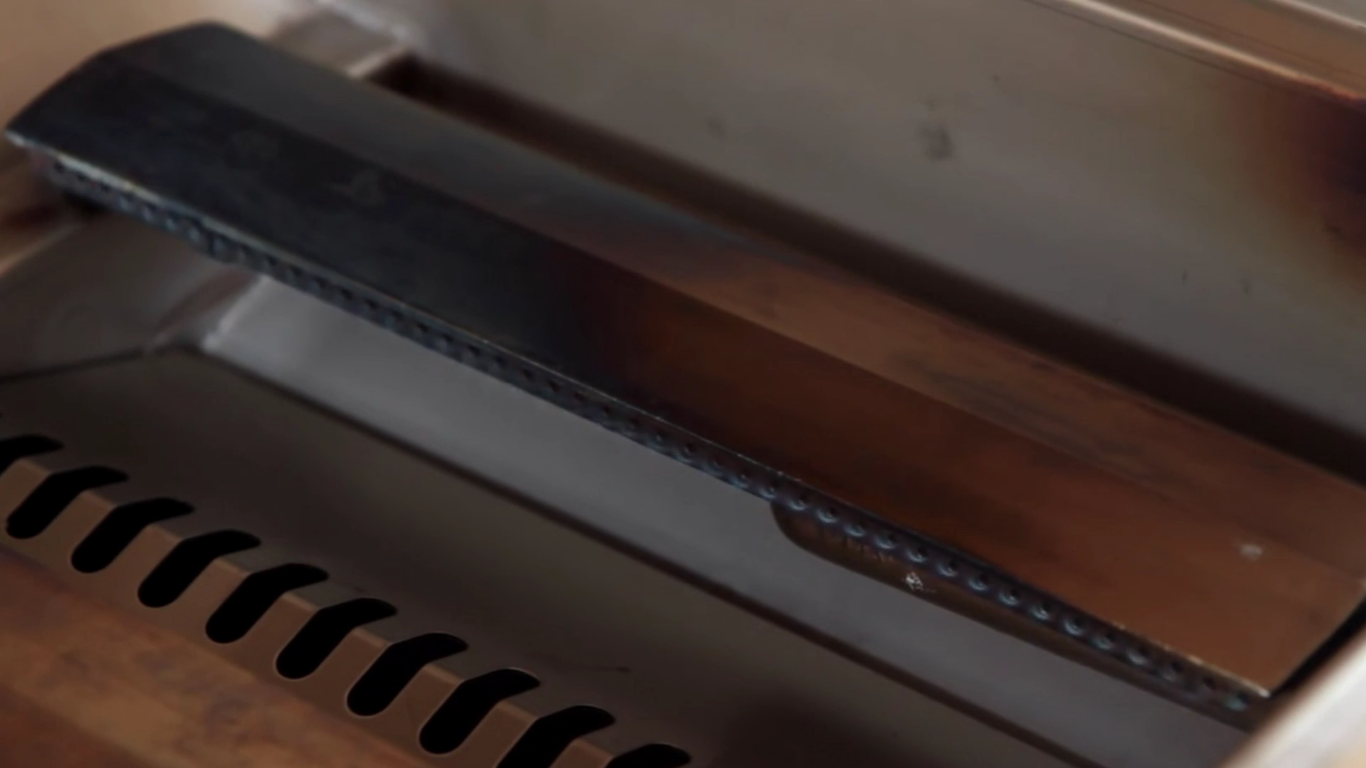
After you remove the cooking grids, you can now remove the flame tamers that sit directly above the burners. Again, these items should come out from their original position very easily.
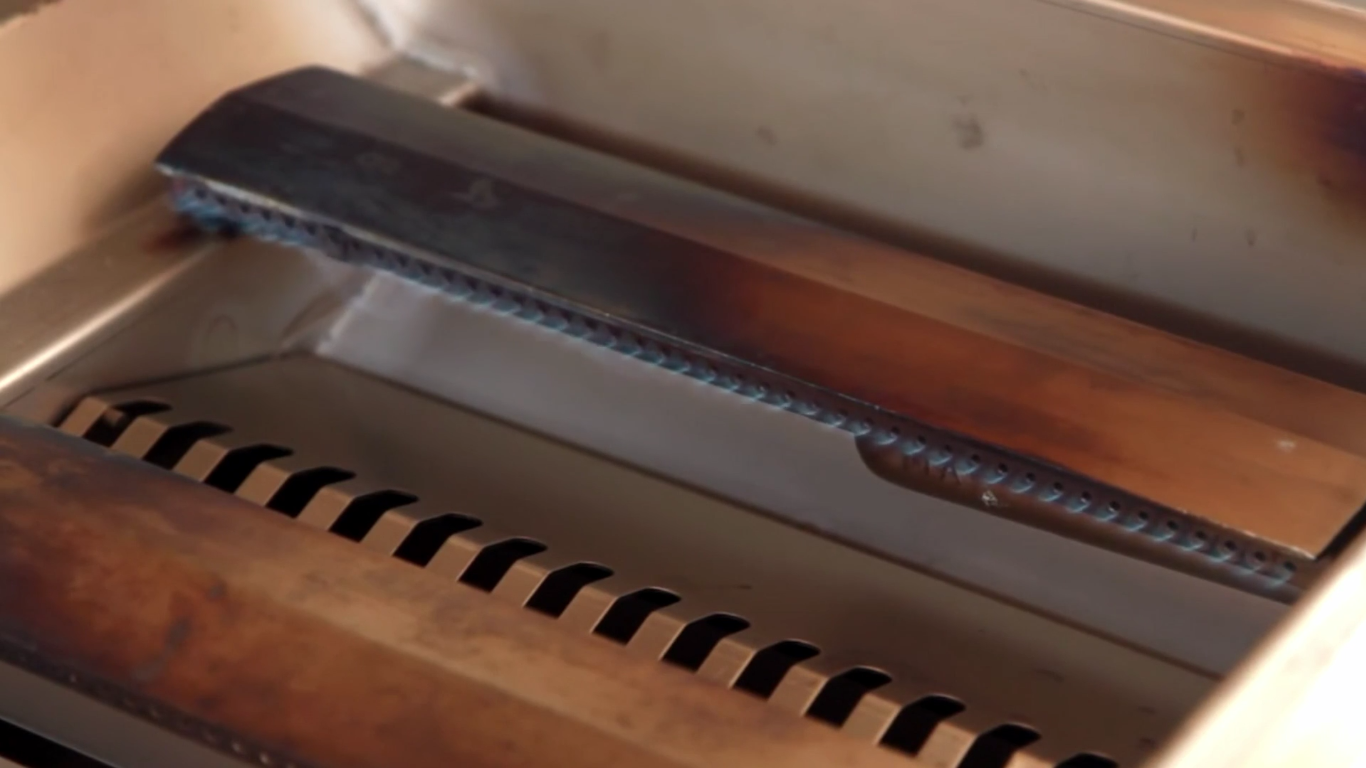
You’ve now exposed the burner or burners that you’d like to adjust. Removing the grids and grates allows you to actually see the adjustment of the flame as your working with the valve. Push the knob for the desired burner that you’d like to turn on, and set it to the lowest temperature setting.
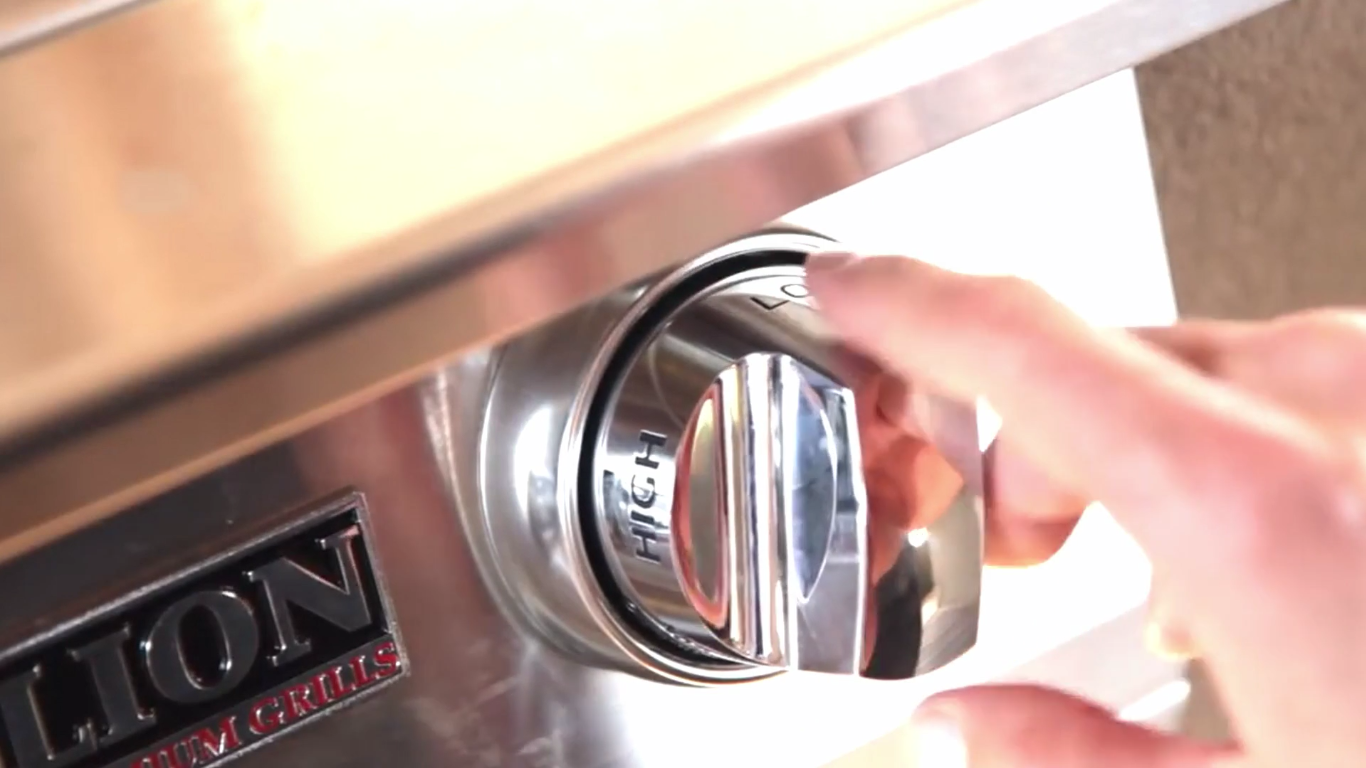
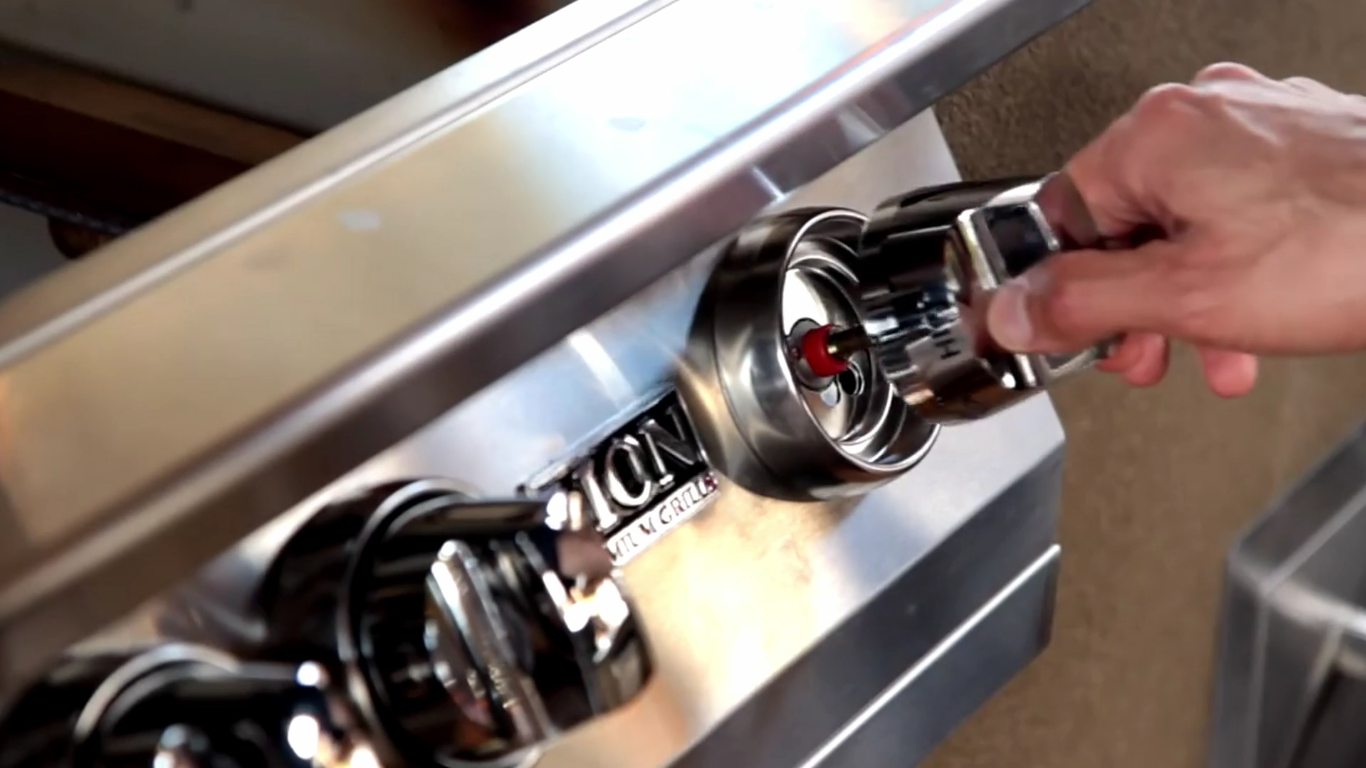
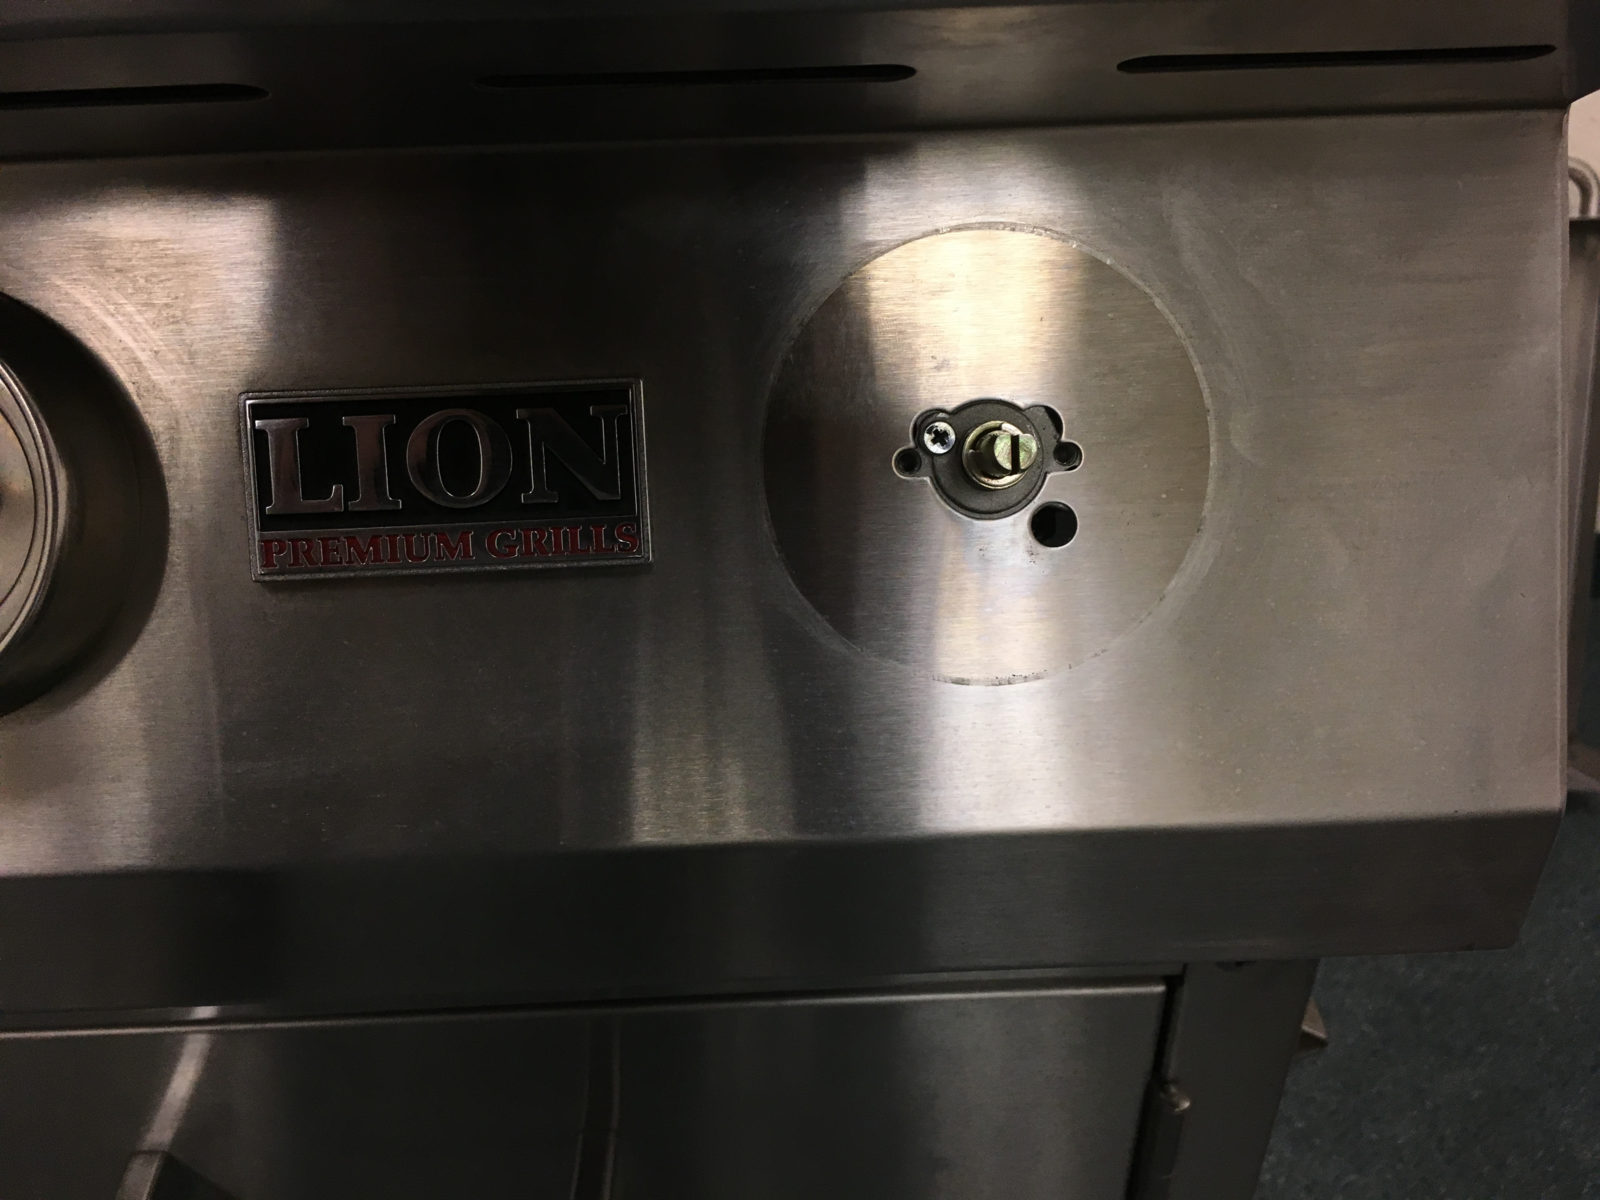
Now that you have the burner on at the lowest setting, leave the burner on at low and pull the control knob straight out. It should slide out easily, exposing the valve stem and adjustment screw as seen below.
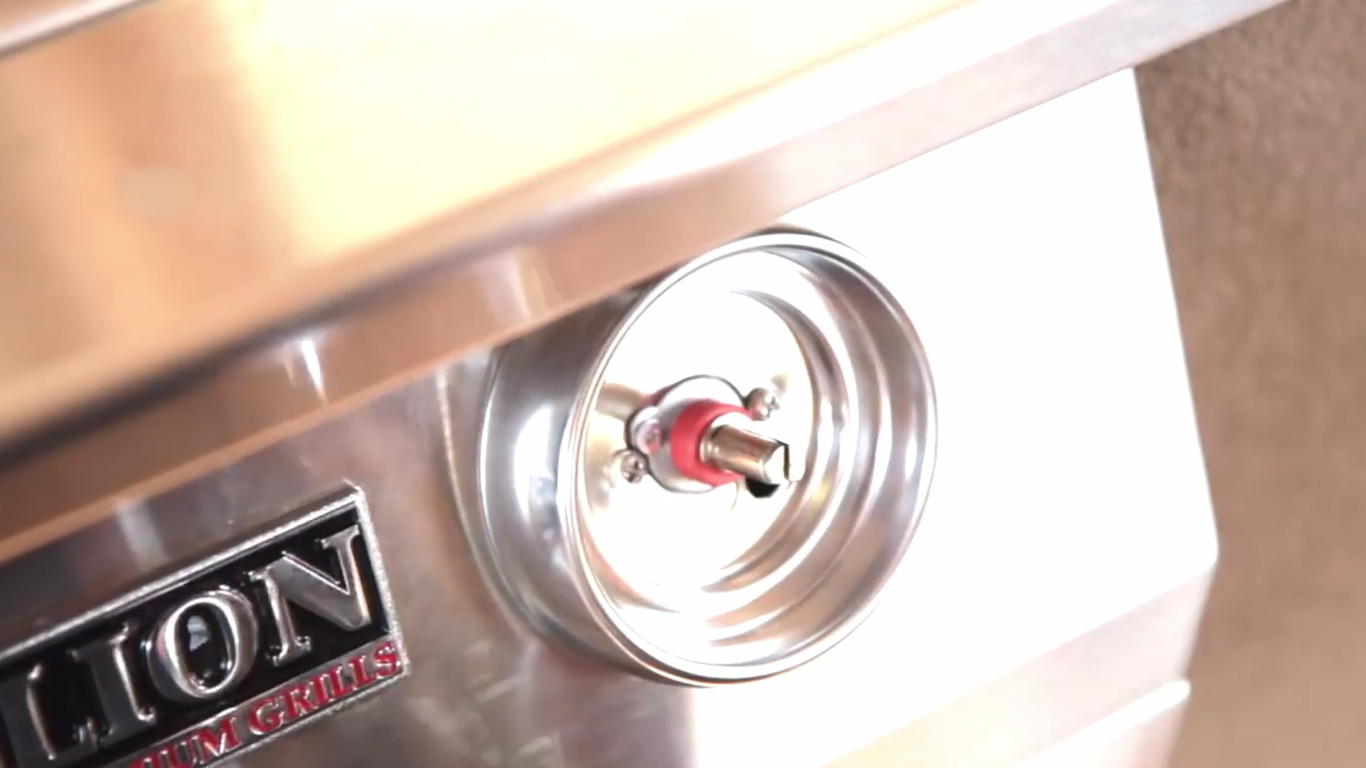
Here is what you’ll see after you remove the control knob. The valve stem sits at the center.
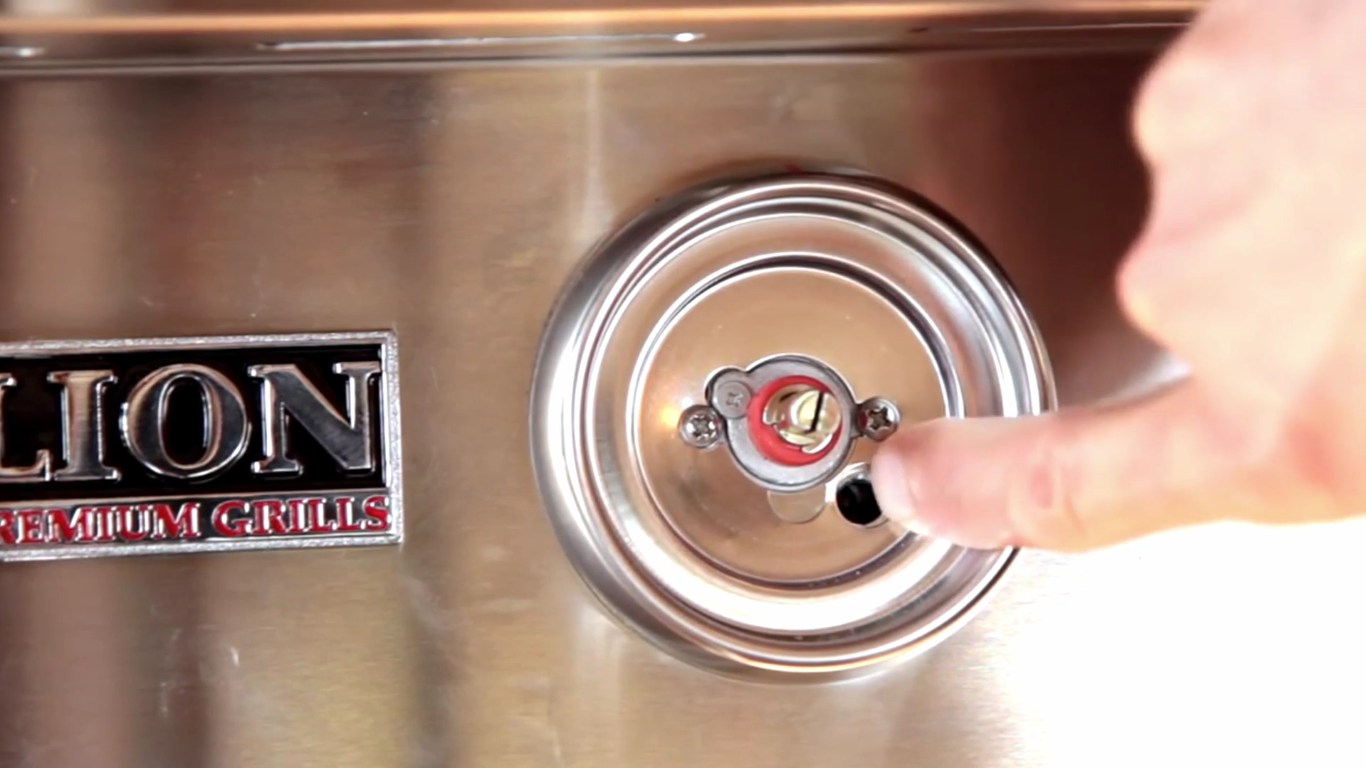
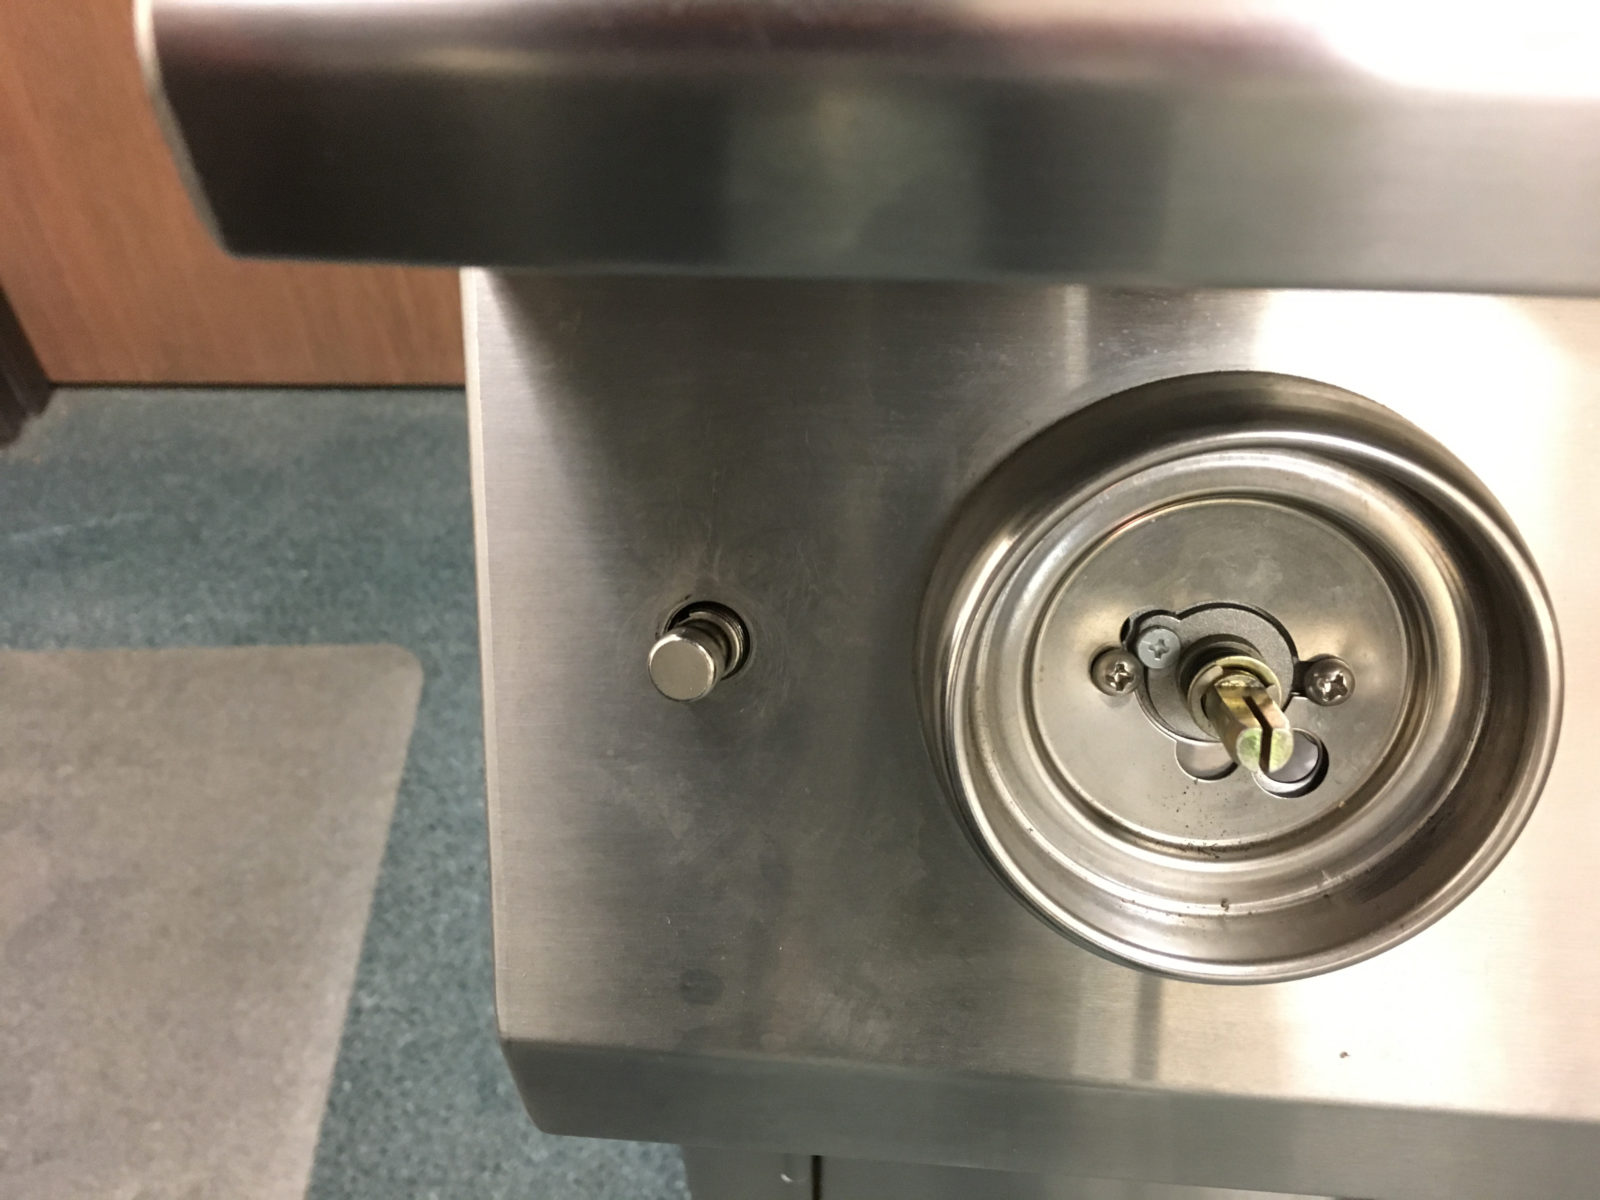
Next to the valve stem you’ll see an adjustment screw that is set off to the right side of the stem. This is what you’ll be using the adjust the lowest flame setting on your Lion BBQ grill.
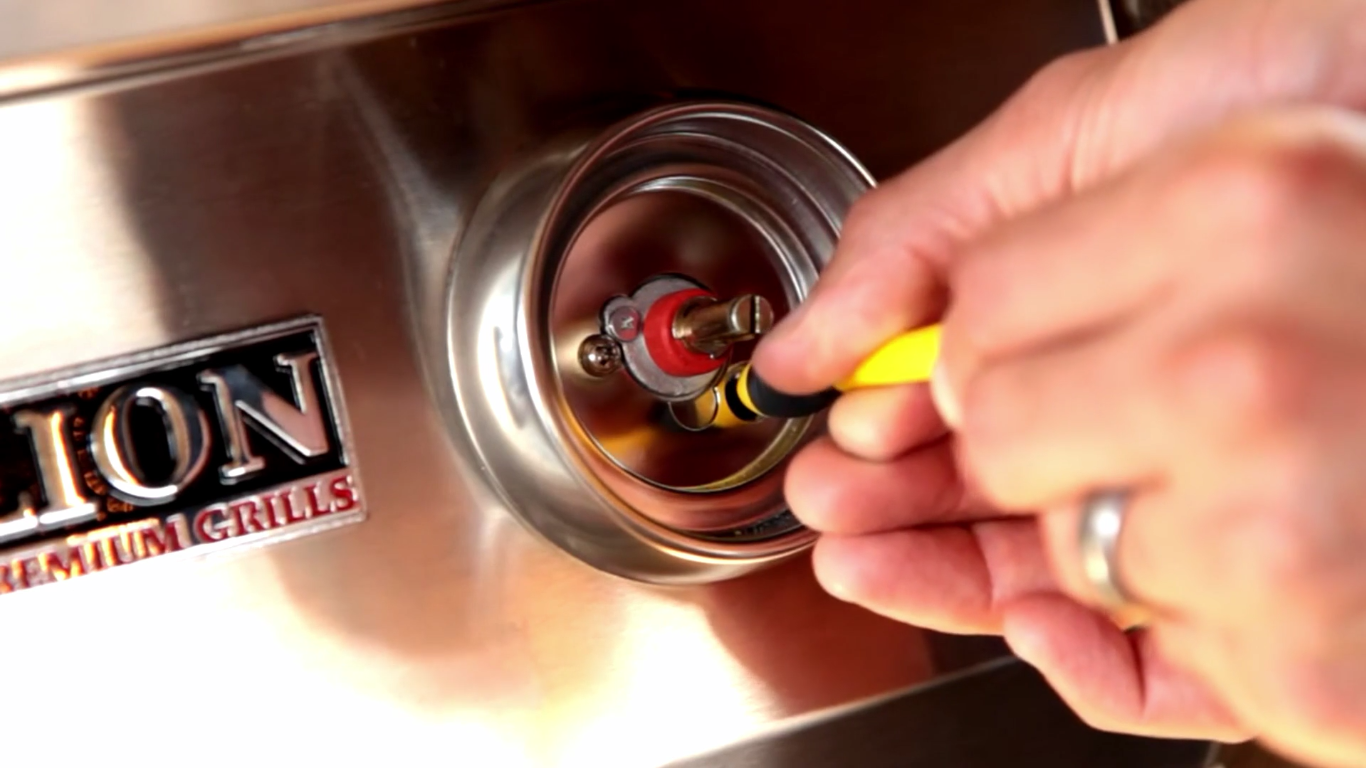
Take a small precision screwdriver and slowly turn the screw to the right — make sure you do this very slowly.
Slowly turn the screw to the right to adjust the low turn down setting on your burner. You’ll be able to see the adjustment to the flame as you slowly turn. Get it to your desired low point that still maintains resistance to easily going out.
Take your control knob and place it back on the valve stem. Turn the burner off and continue on to the rest.
This month we’re going to showcase the valve conversion process. We have a step by step breakdown with images that will show you just how to switch out your valves if you need to do so. We hope that this feature will make switching out any valves a breeze. If you do happen to have any questions about doing this or if you need some assistance please do not hesitate to give us a call at Lion Premium Grills and we’ll be happy to walk you through the process. Thank you and please enjoy the following feature!
Tools – Screwdriver and crescent wrench.
STEP ONE – The first step of the process is very easy; simply remove your drip tray and gently set it aside and out of the area in which you’ll be working.
STEP TWO – On the control panel there are six total phillips head screws — three on the left and right side as shown in the picture above. Proceed to remove all six screws using your screwdriver.
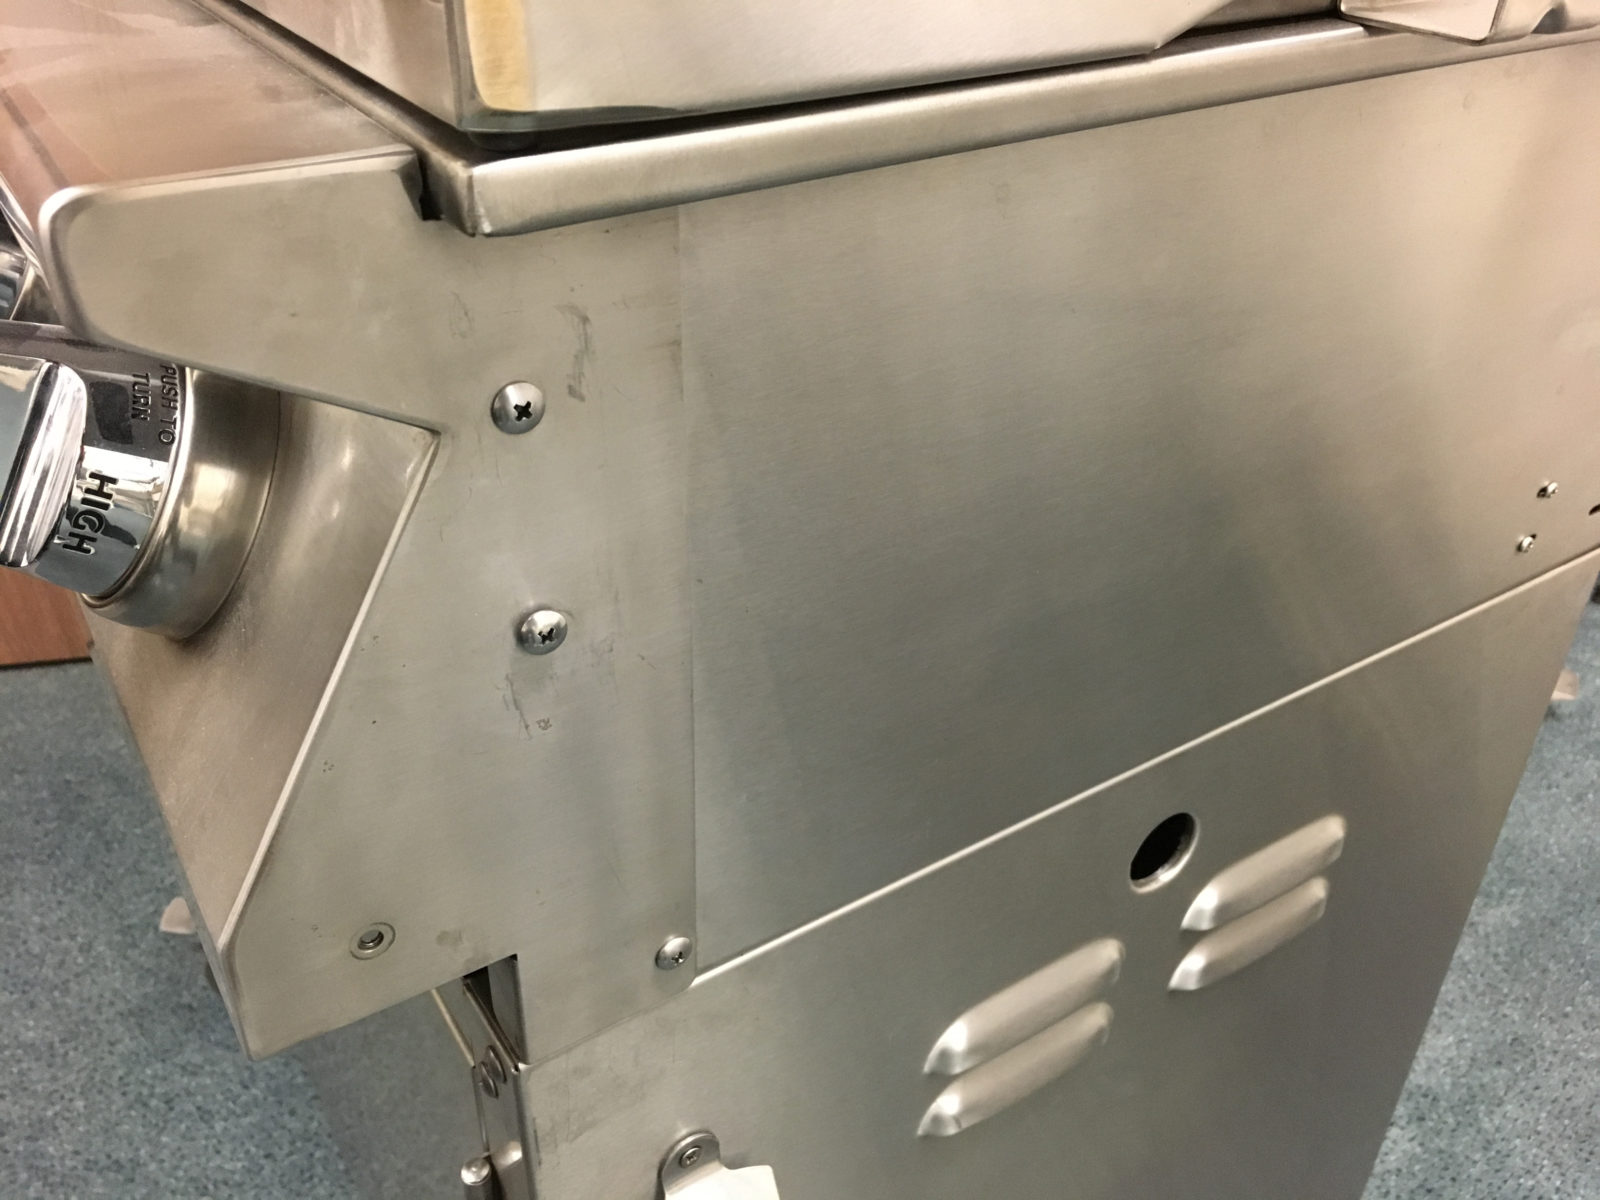
STEP THREE – Now you’ll need to remove all of the knobs on the front of the control panel. After doing this, you’ll be able to see two protruding screws on each empty knob position that hold the bezel in position; take your screwdriver and remove these screws.
STEP FOUR – This is is just a closer look at which screws needed to be removed in order for the bezel to be taken off of the control panel.
STEP FIVE – Take your crescent wrench and loosen the nut that is holding the light switch in place. It is preferable to use your fingers for the final removal of the nut.
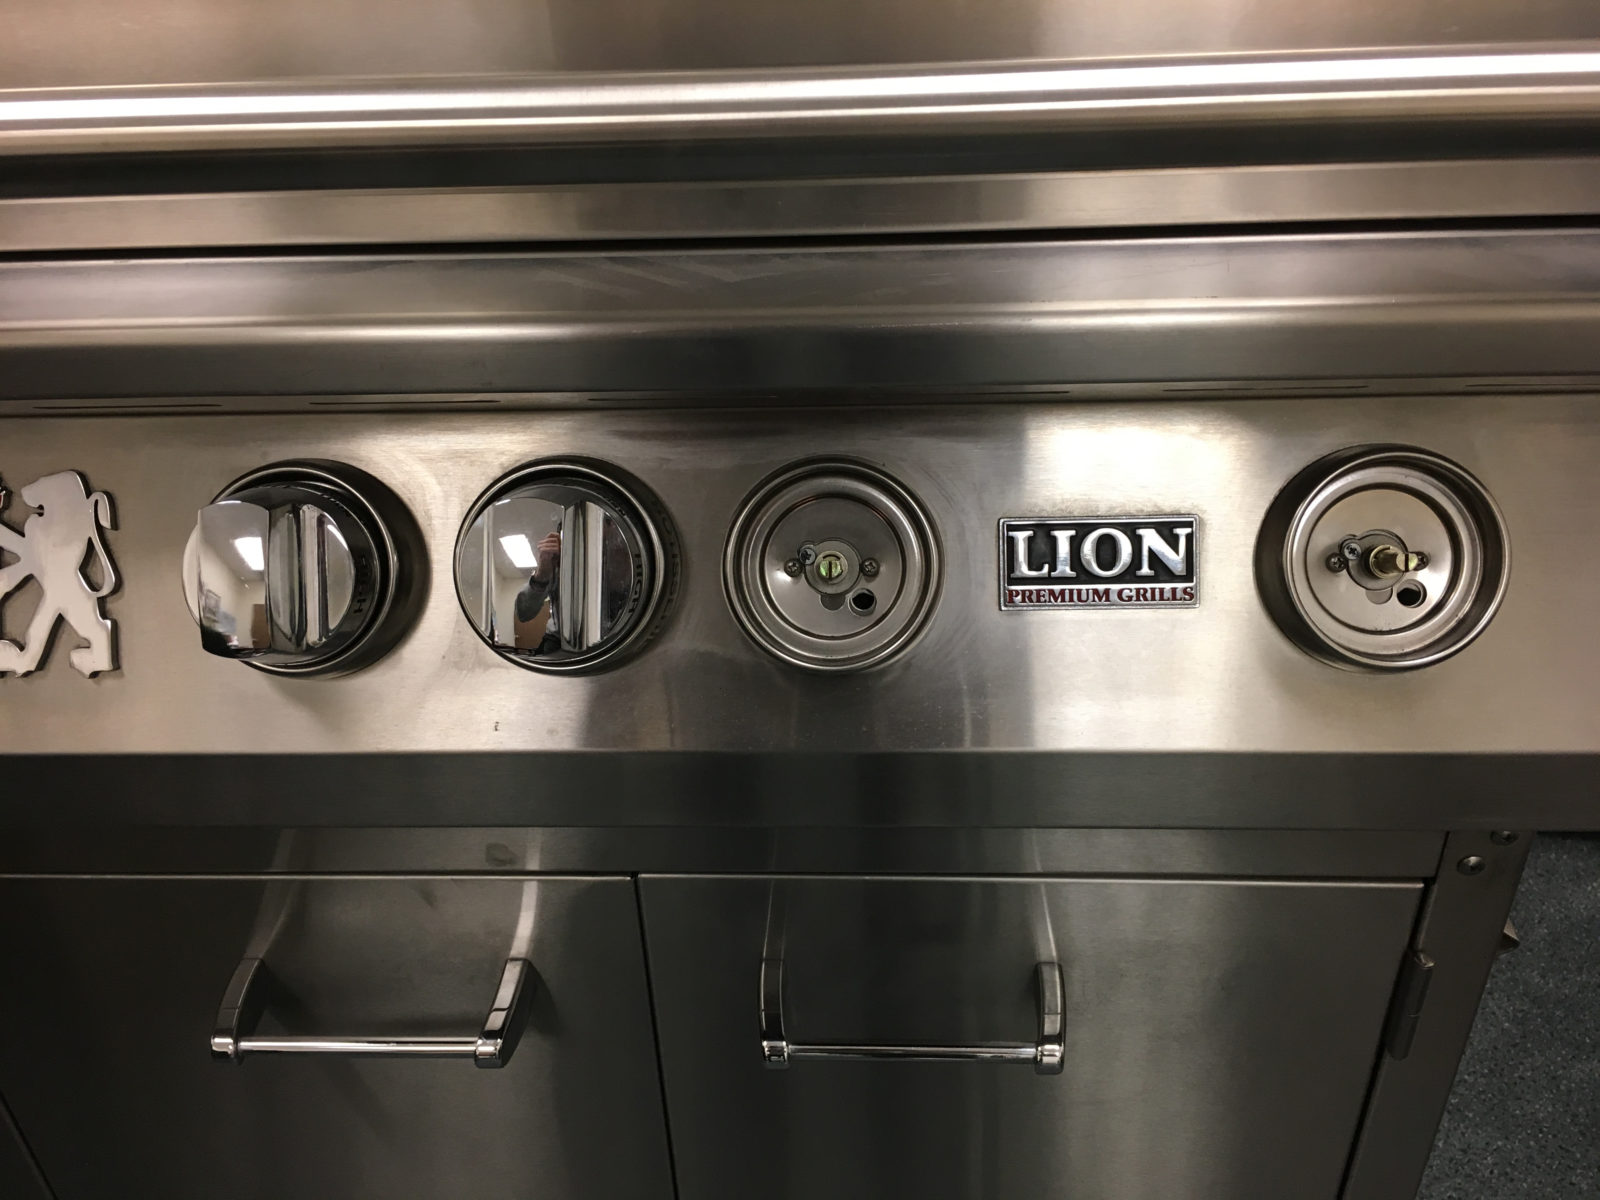
STEP SIX – This is what the control panel should look like when it is ready for removal. Be careful to not damage or pull any of the wires when removing the control panel.

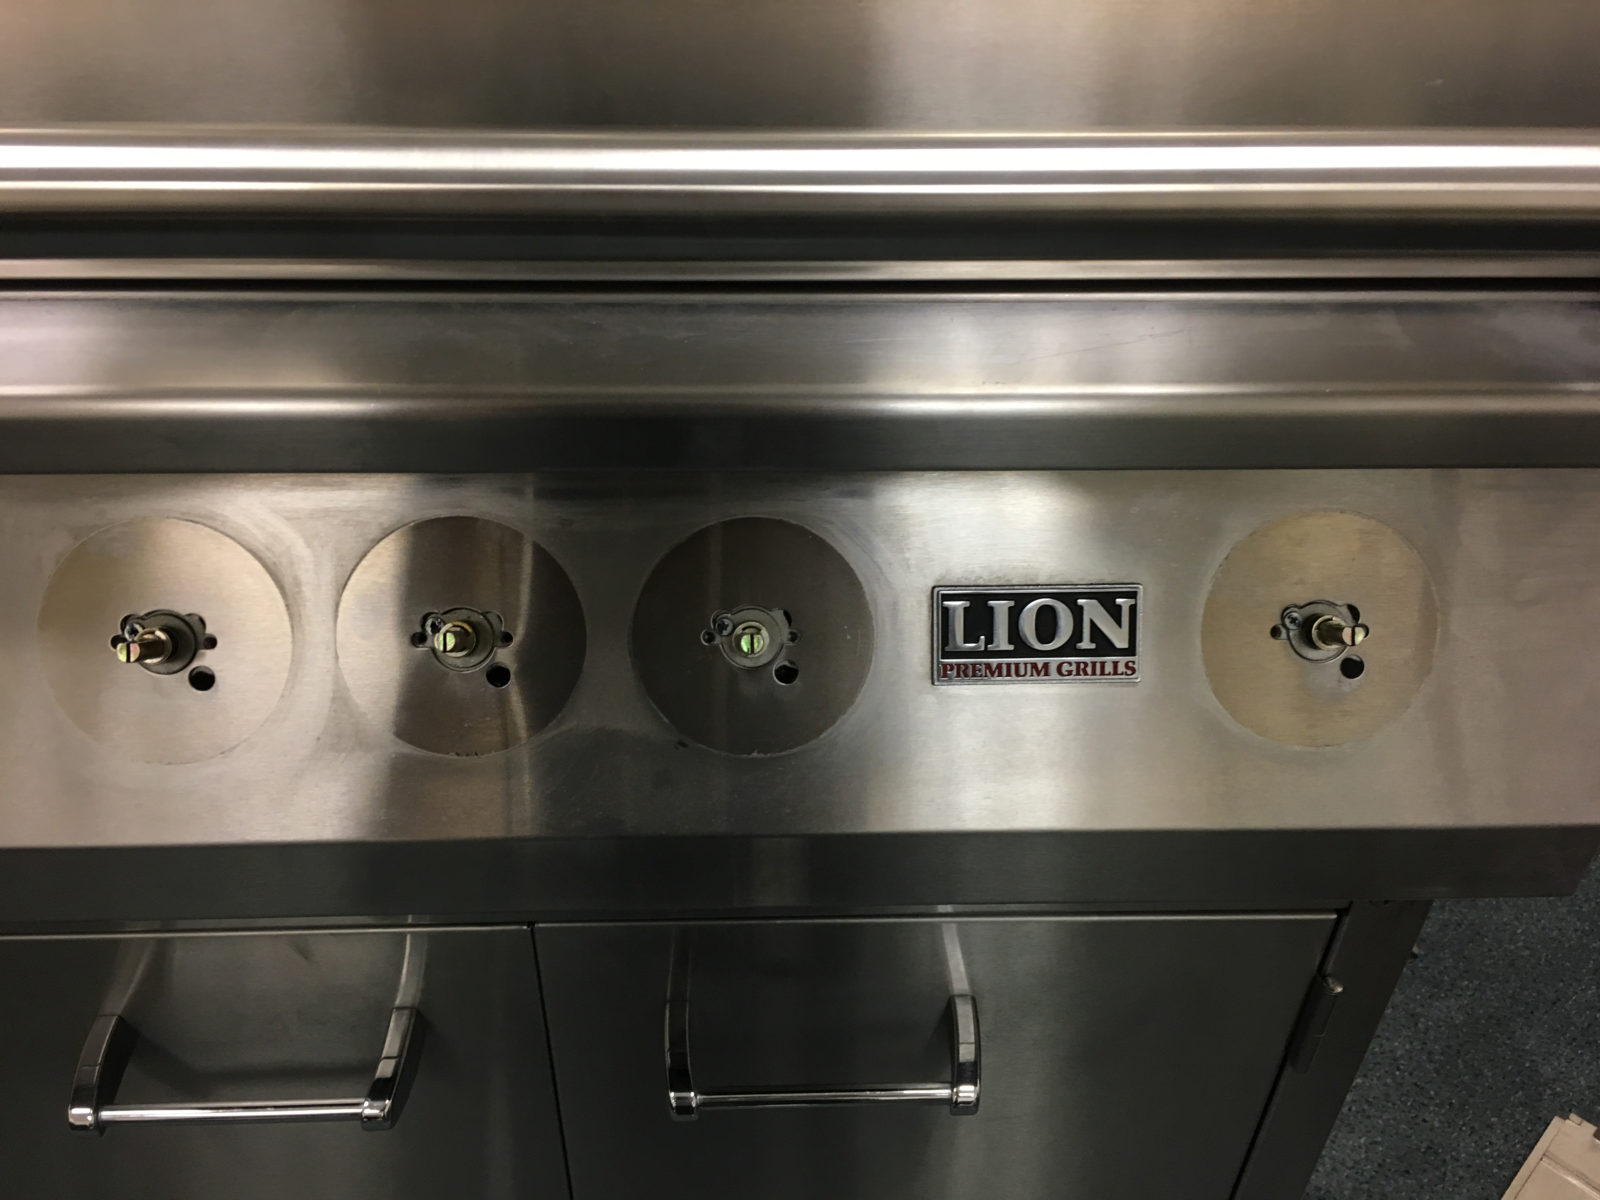
STEP SEVEN – Now all of the valves are exposed.
STEP EIGHT – Now the valve(s) can be removed from the manifold. In order to do so, first remove the bottom screw on the clip that holds the valve tight to the manifold.
STEP NINE – Once the clip is off, the old valve can be fully removed and swapped for a new valve. Repeat this process as necessary. Reverse this process to connect a new valve.
That’s how the process of removing and replacing a valve breaks down. If there are any questions or issues encountered along the way please do not hesitate to give us a call. Thank you!
An essential part to maximizing your grilling experience is maintaining your grill grates; if done properly, cleaning them is a relative cinch and you can also season them to their fullest potential at the same time. Think of your grill grates like a cast iron skillet. Over time it will absorb all of the various flavors, seasonings, juices, oils, etc. from the food being cooked on it which is something to be desired as it will only enhance your future grilling endeavors. This doesn’t mean leaving them dirty of course; in order to properly season your grates you first need to keep them clean. The video above is courtesy of Ultimate Patio and it features our Lion Premium BBQ grill! Below you’ll find a step by step guide.
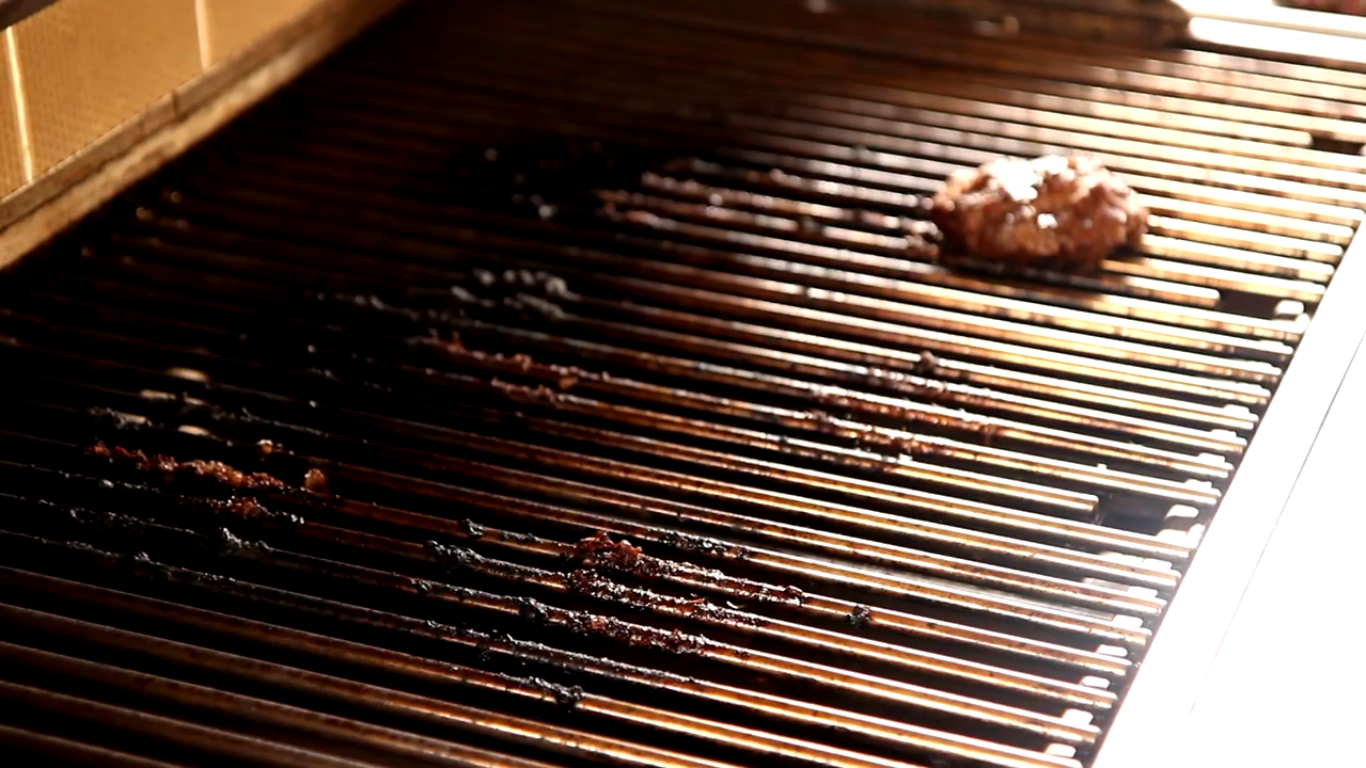
Here’s a cooking session that’s just about finished. Once you’re done cooking, remove the food — in this instance one last hamburger patty — and get ready to clean and season your cooking grates.
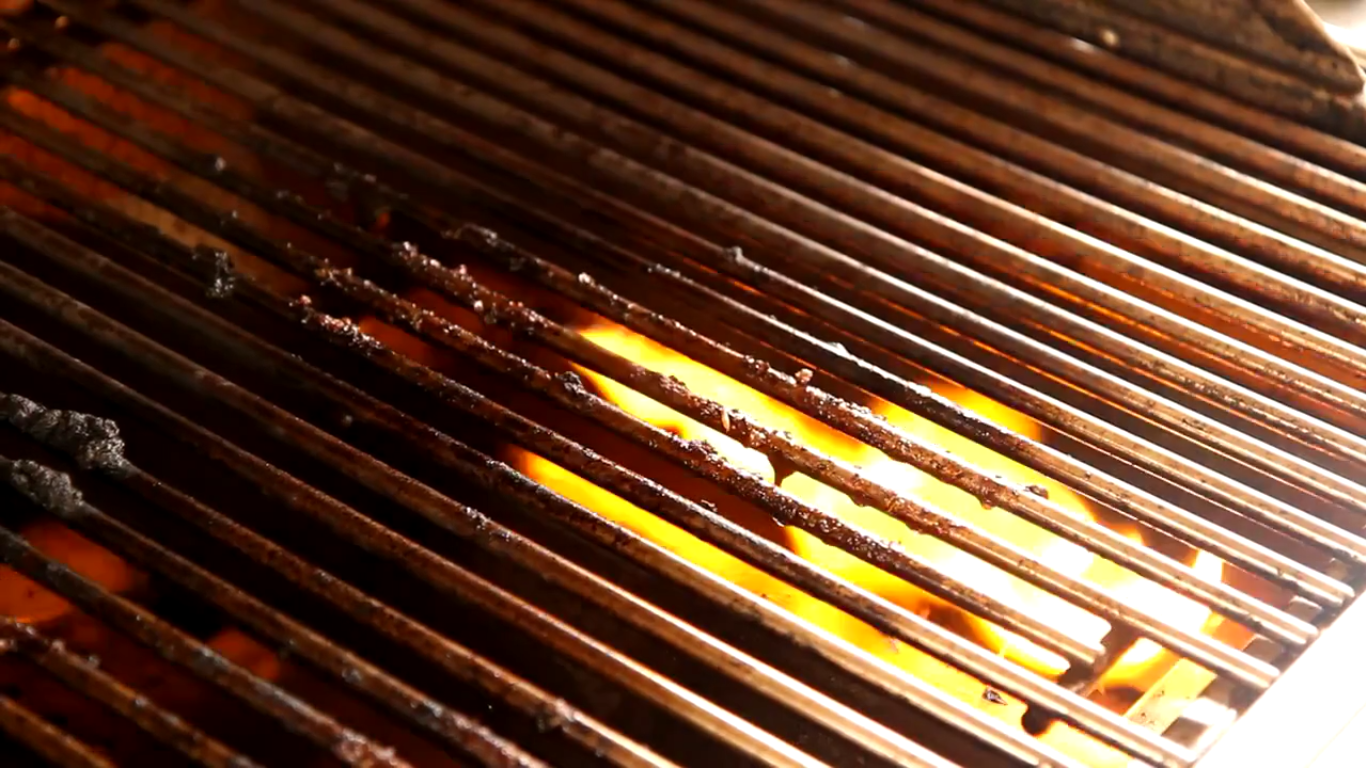
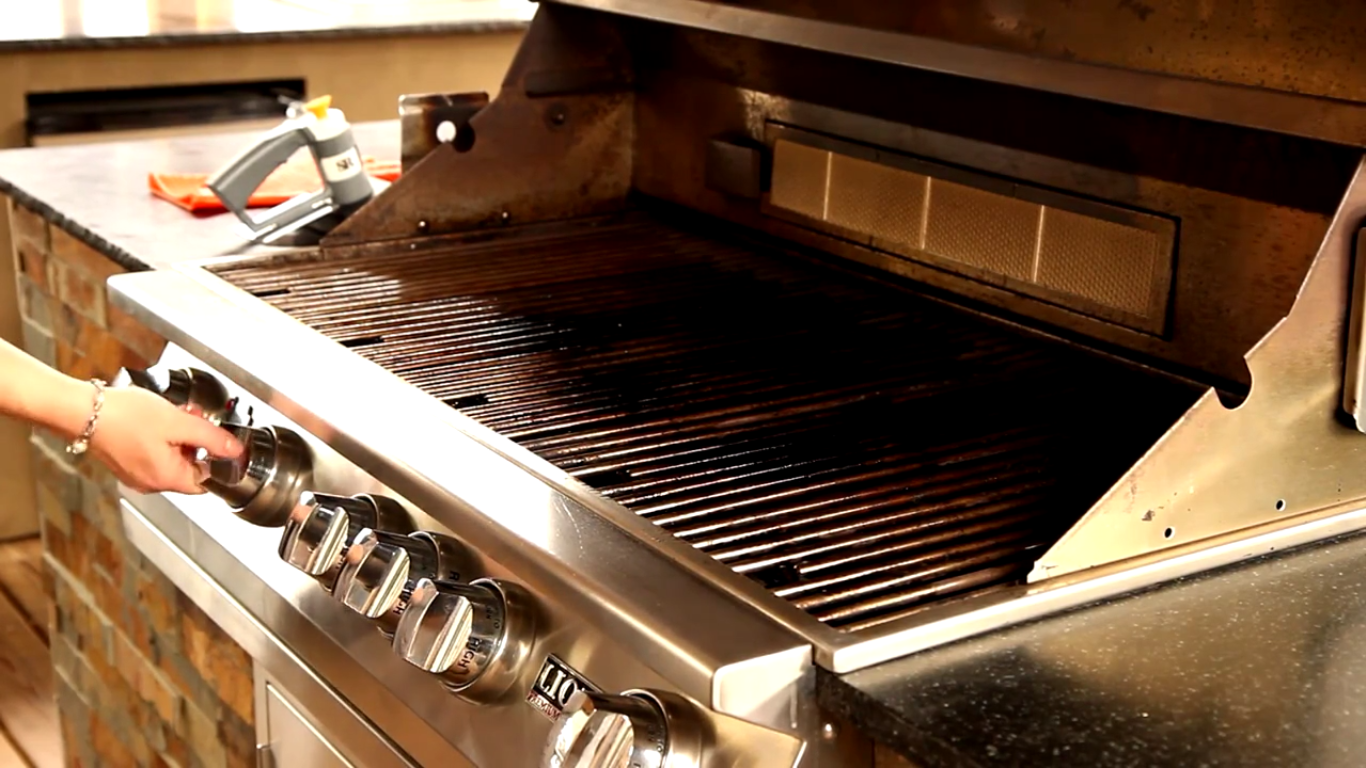
Once you’re done with using your grill and you want to clean it, turn all of your burners to high heat; this will loosen up all of the caked on fat and bits of food that have adhered to the grates. You need the high heat to speed the process along and to sear off charred bits of food, etc.
At this point you’re going to just close your grill hood. Leave it closed for roughly 15 to 20 minutes to let most of the food and residue burn off. This span of time is the sweet spot; you don’t really have any need to run the grill with the hood closed at high temperatures for any period of time higher than the one that’s stated.
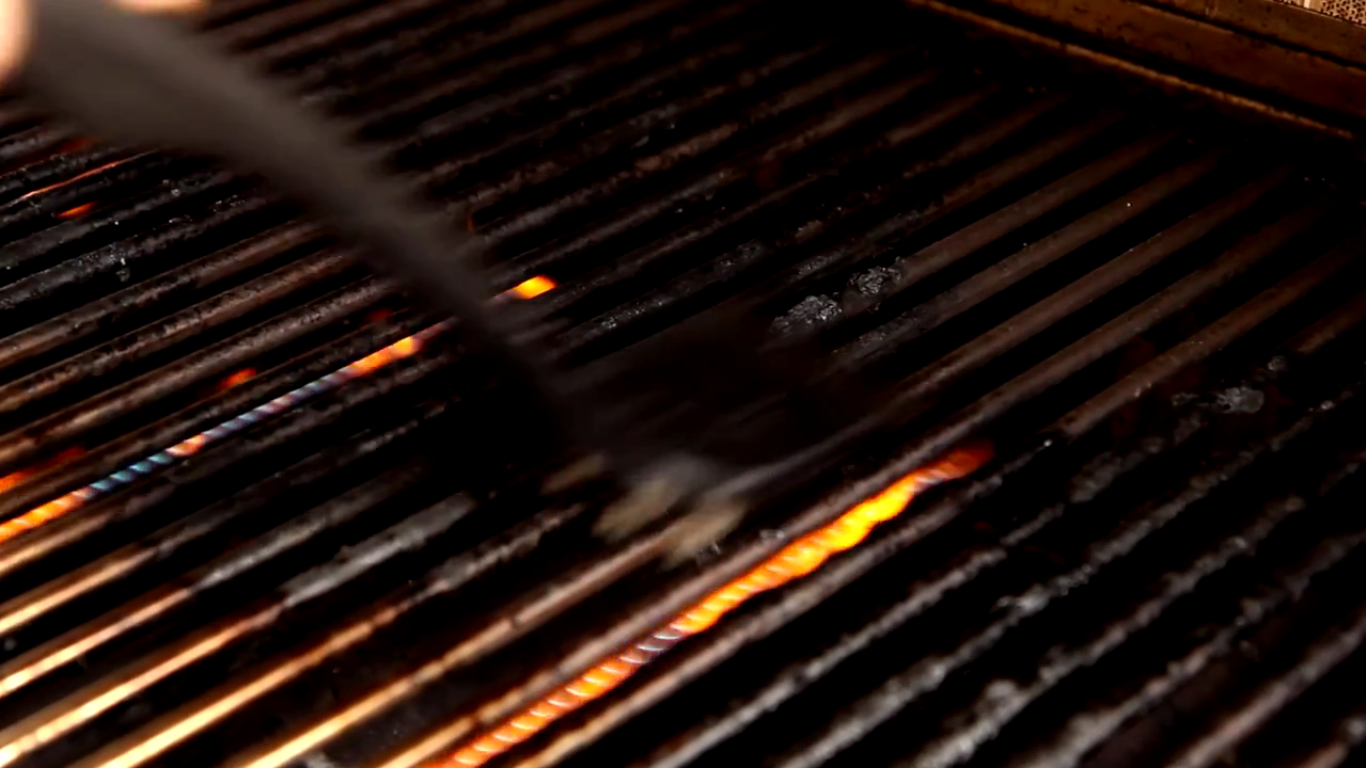
Now that you’re grill is sufficiently hot enough, open the lid and take your grill brush and begin to scrape the residue off of the grates. The remnants of food and gunk should be loose and fall off easily at this point. If you attempt to clean it minus the heat, you’ll see just how much harder this whole cleaning experience can be. Doing it this way ensures that it will be quick and relatively easy.
Once you’ve scraped most of the residue from the grates and they look clean, turn off the burners. Let the grill cook off a bit before proceeding to the next step.

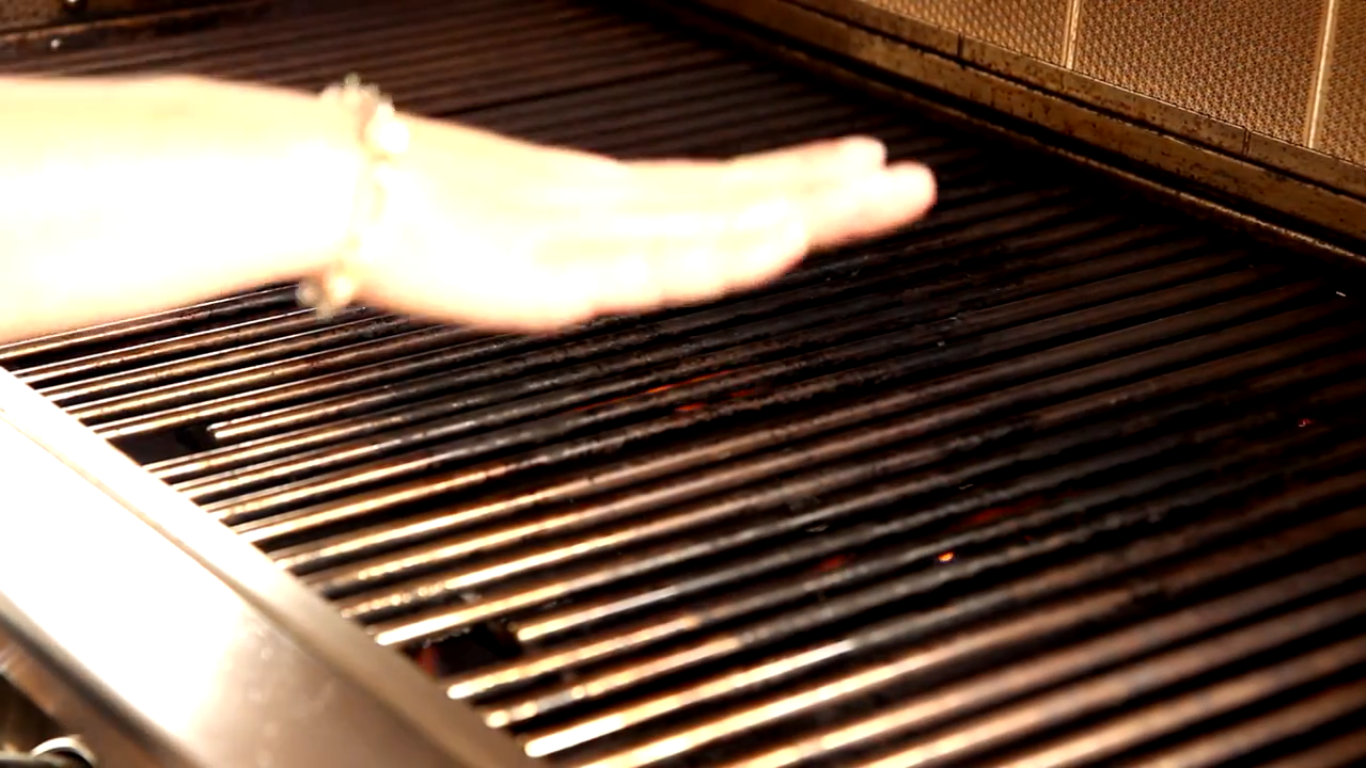
Now it’s time to season your grates. You want to use a high heat cooking oil for this purpose. The best way to apply the oil is as shown in the image above, using an oiler brush. If you don’t have one, you can use a paper towel and tongs. Once the grates are thoroughly oiled, proceed to the final step.
Fire up your grill burners to bake the oil into the grates like a cast iron skillet. Once the oil stops smoking turn off your burners. That’s it! Using this method is both a quick and extremely useful way to clean and season your grill grates.