
PHONE
(909) 988-3400

ADDRESS
541 E. Main St.
Ontario, CA 91761
Lion Premium Grills Newsletter – No. 33, June 2016
Hello, and thank you for visiting the latest edition of our monthly Lion Premium Grills Newsletter. We have entered June of 2016 and this is our 33rd consecutive monthly edition! We are now in the prime grilling season of the year — backyard barbecues, family gatherings, pool parties, and all sorts of other events and summer functions are now in full swing.
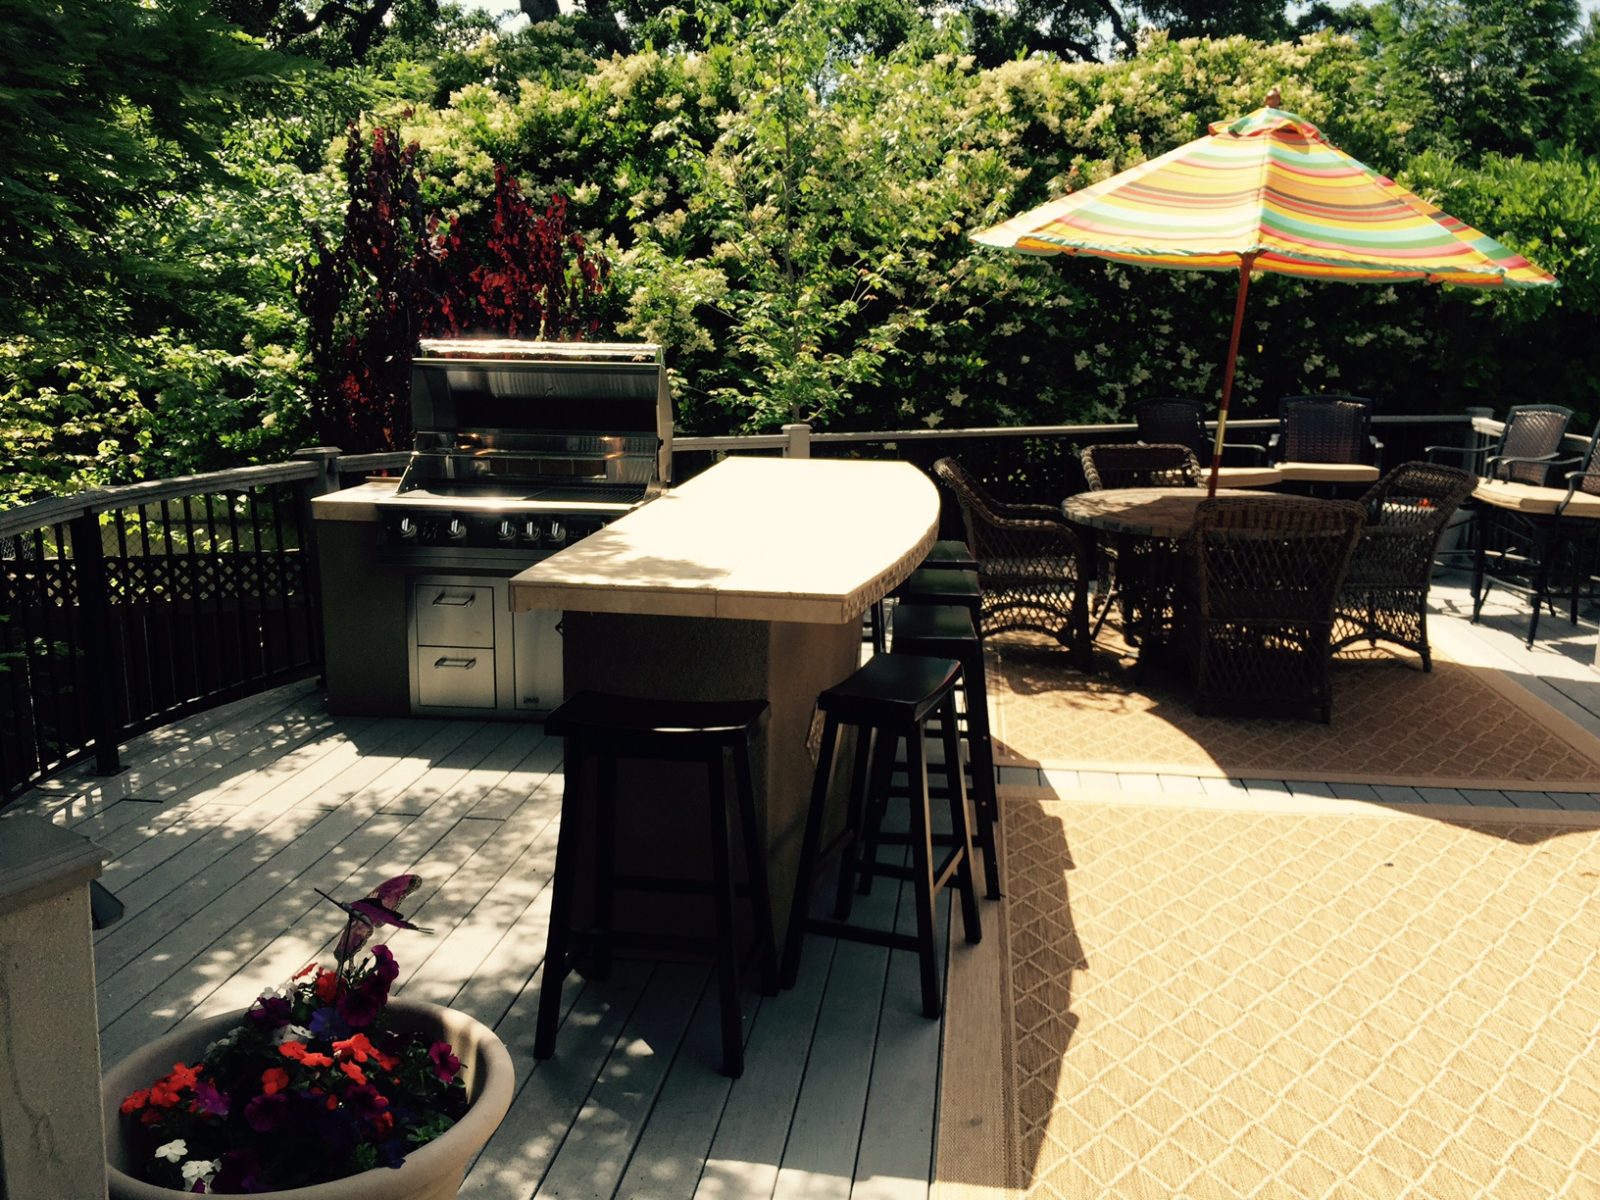
Having a backyard hub such as an outdoor kitchen / island and bbq grill is an essential part of entertaining and hosting. Even if that’s not the case, you can not beat the versatility, functionality and additional cooking dimensions that having one of our gas grills allows. With our smoker box and charcoal tray you can even replicate wood smokers and charcoal grills but with all of the advantages and perks that come with using a gas grill. This issue features our monthly recipe — this time we have Japanese style chicken skewers — as well as an in-depth look at the multi functional bin (propane tank storage / trash bin) which is an essential item for any outdoor kitchen, especially if you’re using liquid propane. We also show you how to replace your searing burner screen in 6 easy steps.
ARCHIVE#1 - October 2013 #2 - November 2013#3 - December 2013#4 - January 2014#5 - February 2014#6 - March 2014#7 - April 2014#8 - May 2014#9 - June 2014#10 - July 2014#11 - August 2014#12 - September 2014#13 - October 2014#14 - November 2014#15 - December 2014#16 - January 2015#17 - February 2015#18 - March 2015#19 - April 2015#20 - May 2015#21 - June 2015#22 - July 2015#23 - August 2015#24 - September 2015#25 - October 2015#26 - November 2015#27 - December 2015#28 - January 2016#29 - February 2016#30 - March 2016#31 - April 2016#32 - May 2016
Thrilled With This Grill
“We are absolutely thrilled with the unit. Impressive to look at, easy to use and easy to enjoy great meals off the grill. We’ve only had it up and running a short while but we have enjoyed pizza, flank steak nachos, grilled artichokes, steak, pork chops and more. Looking forward to many years of enjoyment and entertaining our friends and family.“
Johnnie Kizer – Central Point, OR
32″ L75000 Gas BBQ Grill
We love to feature handy tips and tricks segments and informative how-to’s are another one of those staple features that we enjoy so much. In this instance, we’re going to go through the step by step process of replacing your searing burner mesh screen. Sometimes these do need to be replaced and luckily, the process to do so is really quite easy to accomplish — you’ll have your new screen in place in no time. We are also presenting this feature with step by step pictures to clearly lay out the process. We hope you find this section useful and informative.
[/gpp_box]
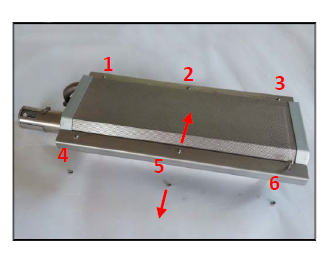
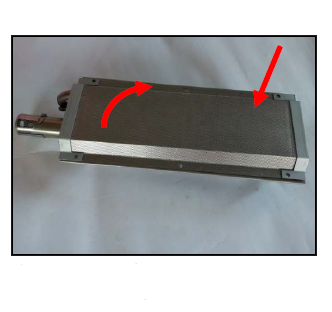
In the image above you can see the screens and nuts clearly labeled; they are very easy to see and identify, which is our first priority. Now you’ll want to go ahead and unscrew them from the frame of the searing burner.
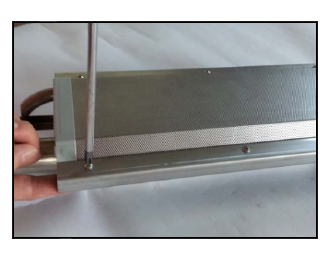
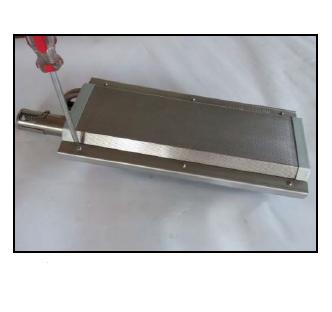
Next, take a Phillips screwdriver and unscrew each bolt from the searing burner frame. This step is really just an extension of step one by showing a close up of the process and identifying the type of screwdriver you’ll need to remove your old searing burner screen.
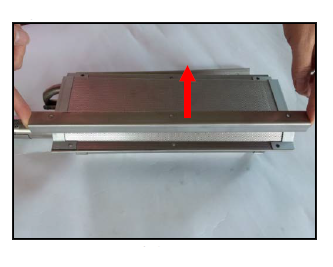
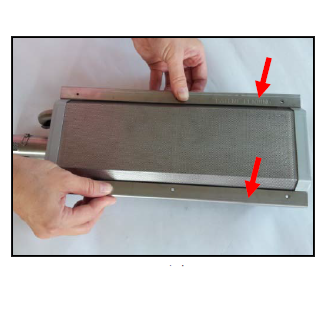
Once you’ve unscrewed everything, go ahead and remove the left and right stainless steel brackets that were holding the mesh securely in place. Make sure to keep all of the screws and nuts in one spot as well to prevent any accidental loss. Place the brackets off to the side and remove the old searing burner mesh.
 Once you have your old mesh screen removed, place the new screen in place on the frame of the searing burner. It should be quite easy to get this into place and we can move on to the final steps of this very easy process.
 With the screen in place, go ahead and place your searing burner stainless brackets back into their original place on the left and right side respectively of the searing burner.
Place the screws and nuts back into place on the left and right searing burner brackets; take your screwdriver and fasten the screws. Check to make sure everything is now firmly in place. That’s it! It is really a very easy process to replace your searing burner screen and this step by step process lays that out plainly.
Heavy Duty!
“I bought this from an authorized dealer in Rancho Cucamonga, CA and could not be happier! The empty space where there used to be a built in grill by another manufacturer had to be adjusted a bit to fit this grill, but it was well worth it. The heavy gauge metal is awesome and it seems to be extremely well made. The fact that it has a lifetime warranty and came with a griddle insert, a smoker box, a nice vinyl grill cover, as well as the rotisserie setup just made it that much better. I’ve had this for two weeks now and will update if anything changes. Until then, I would definitely recommend this grill to a friend. So easy to use and very sturdy.”
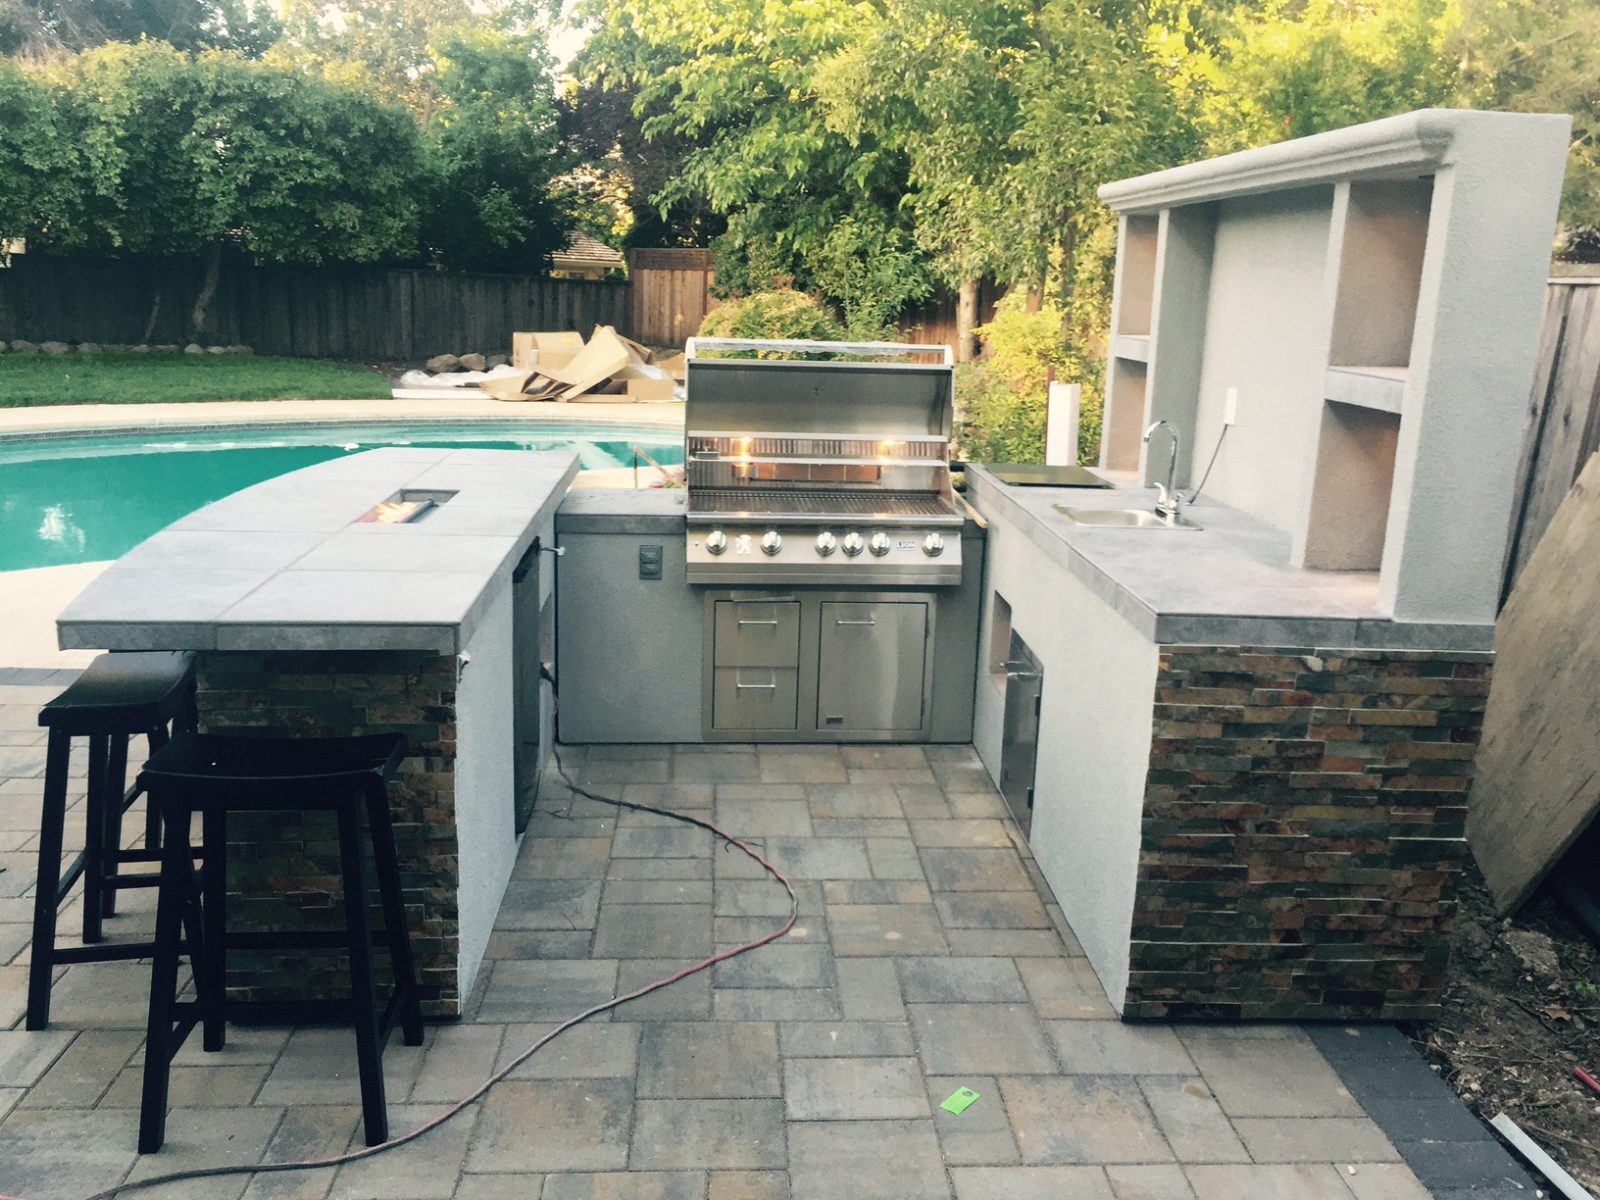
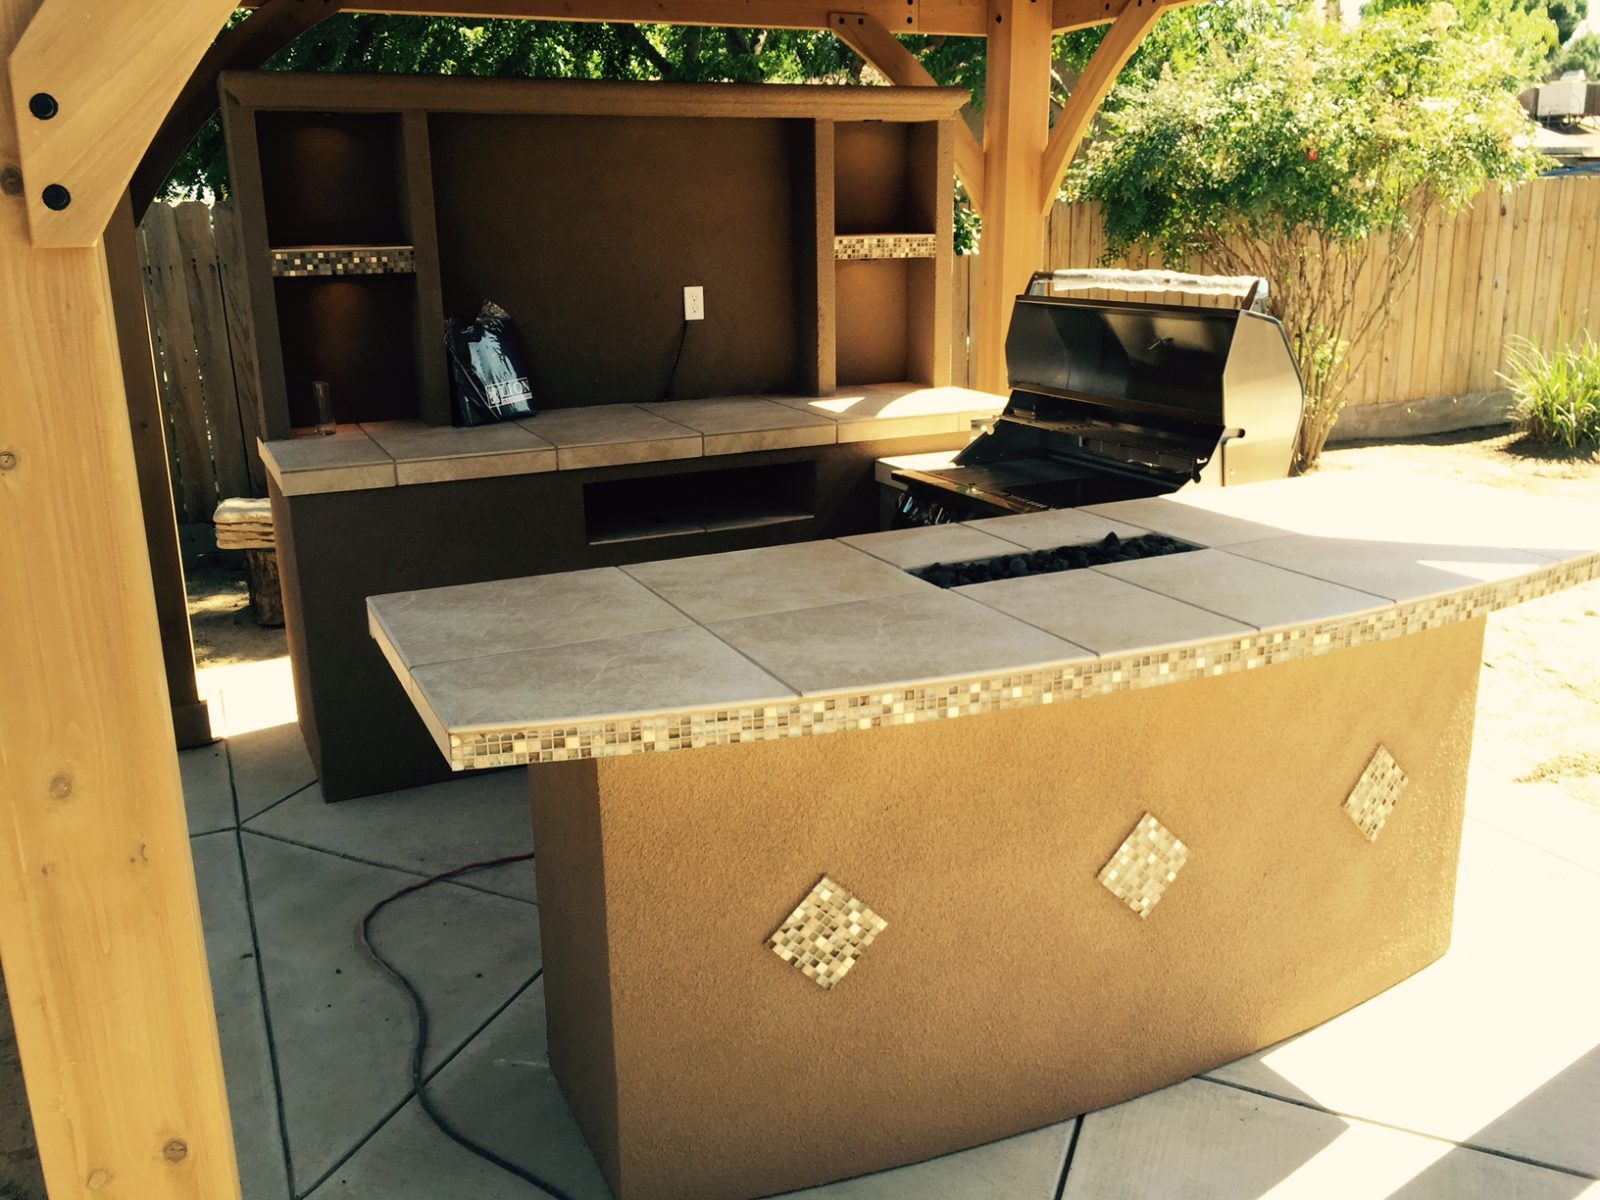
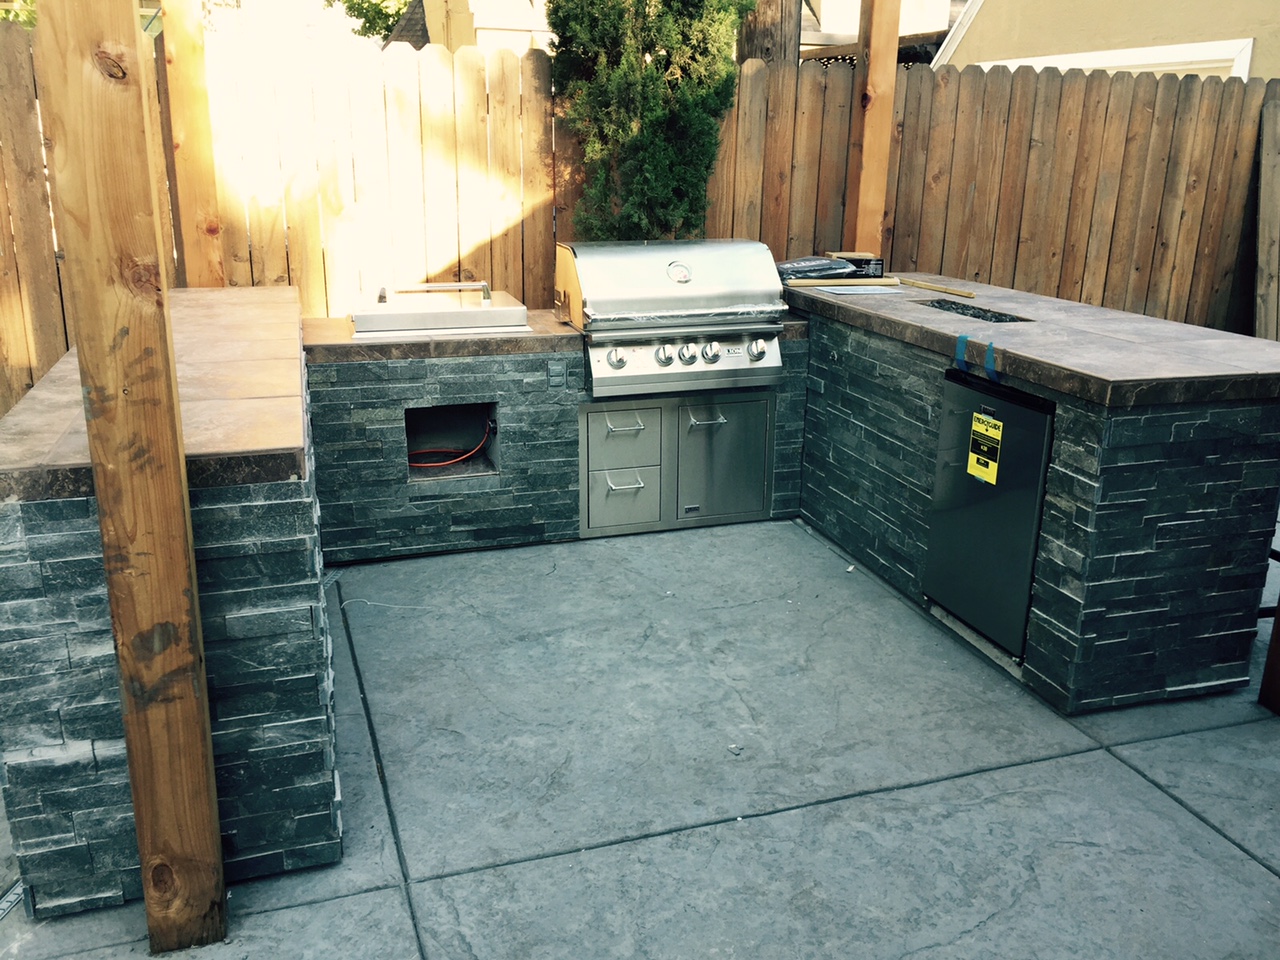
Installing a new island & Lion BBQ.
JT – 40″ L90000 BBQ Grill – Amazon