
PHONE
(909) 988-3400

ADDRESS
541 E. Main St.
Ontario, CA 91761
Lion Premium Grills Newsletter – No. 42, March 2017
First off, hello and thank you for visiting our monthly Lion Premium Grills Newsletter. Welcome to the March 2017 issue which marks our 42nd edition. This is the prime spot for any and all news related to Lion Premium Grills — whether that be the introduction of a new product, a spotlight feature of one of our grills or accessories, or general tips and tricks to enhance your overall grilling experience. As stated above, we are in March which is usually when people are prepping and getting ready for the upcoming grilling season. That can mean renovating a backyard, building an outdoor kitchen, or just upgrading an old grill that needs replacing, this is the time when things really begin to ramp up.
In this issue, we are going to take an in-depth look at the grill cart for our L75000 32″ BBQ grill; this item transforms your grilling set-up into a mobile grilling station which is perfect for condos, apartments and people who need a grill that can be moved at will. We also take a look at our horizontal and vertical stainless steel doors . We also feature a step by step guide with images on how to switch out the valves on your grill. As always we also showcase our monthly recipe; this month marks one of our all-time favorite recipes at Lion Premium Grills that we’ve featured so far. We hope you enjoy this month’s issue. Thank you again from all of us at Lion Premium Grills!
ARCHIVE#1 - October 2013 #2 - November 2013#3 - December 2013#4 - January 2014#5 - February 2014#6 - March 2014#7 - April 2014#8 - May 2014#9 - June 2014#10 - July 2014#11 -August 2014#12 - September 2014#13 -October 2014#14 - November 2014#15 -December 2014#16 - January 2015#17 - February 2015#18 - March 2015#19 - April 2015#20 - May 2015#21 - June 2015#22 - July 2015#23 - August 2015#24 - September 2015#25 - October 2015#26 - November 2015#27 - December 2015#28 - January 2016#29 - February 2016#30 - March 2016#31 - April 2016#32 - May 2016#33 - June 2016#34 - July 2016#35 - August 2016#36 - September 2016#37 - October 2016#38 -November 2016#39 - December 2016 #40 - January 2017#41 - February 2017
Built Like a Tank!
“I love grilling outdoors and I was looking to upgrade from my sturdy charcoal grill to something that looks great in addition to grilling like a champ. I came across this Lion 32″ grill and once I saw the specs and quality of the building materials I pulled the trigger and ordered one. This thing went way above my expectations and blew them out of the water. Lion created an amazing grill that is built like a tank and outputs some serious heat. I picked up a charcoal tray as well so that I can add that dimension to my cooking when I feel the need. A plus is that guests always point out how impressive this grill looks. I can recommend this to anyone that’s looking to pick up a great new grill.”
J. Roberts
Valencia, California
32″ L75000 Grill – bestofbackyard.com
“Fabulous grill. Quality construction throughout. All the little extras just throw it over the top. Just get it, you won’t regret it.”
This month we’re going to showcase the valve conversion process. We have a step by step breakdown with images that will show you just how to switch out your valves if you need to do so. We hope that this feature will make switching out any valves a breeze. If you do happen to have any questions about doing this or if you need some assistance please do not hesitate to give us a call at Lion Premium Grills and we’ll be happy to walk you through the process. Thank you and please enjoy the following feature!
Tools – Screwdriver and crescent wrench.
STEP ONE – The first step of the process is very easy; simply remove your drip tray and gently set it aside and out of the area in which you’ll be working.
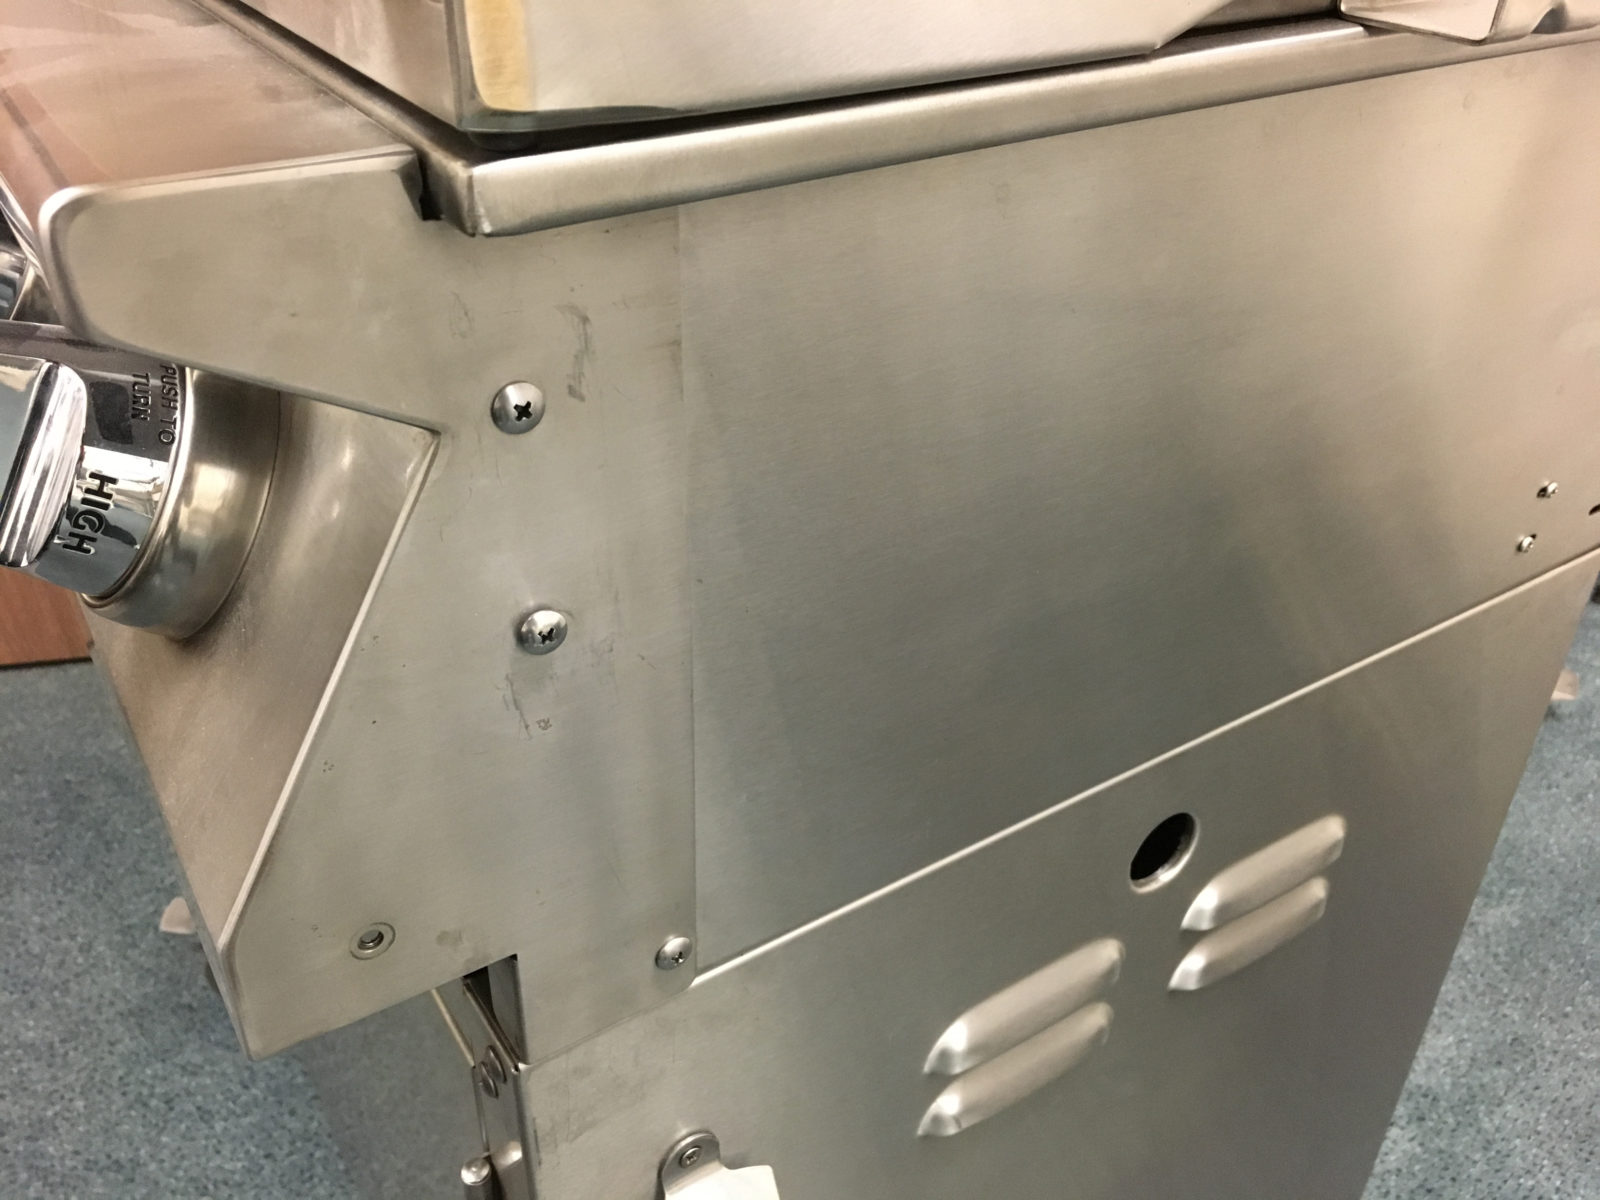
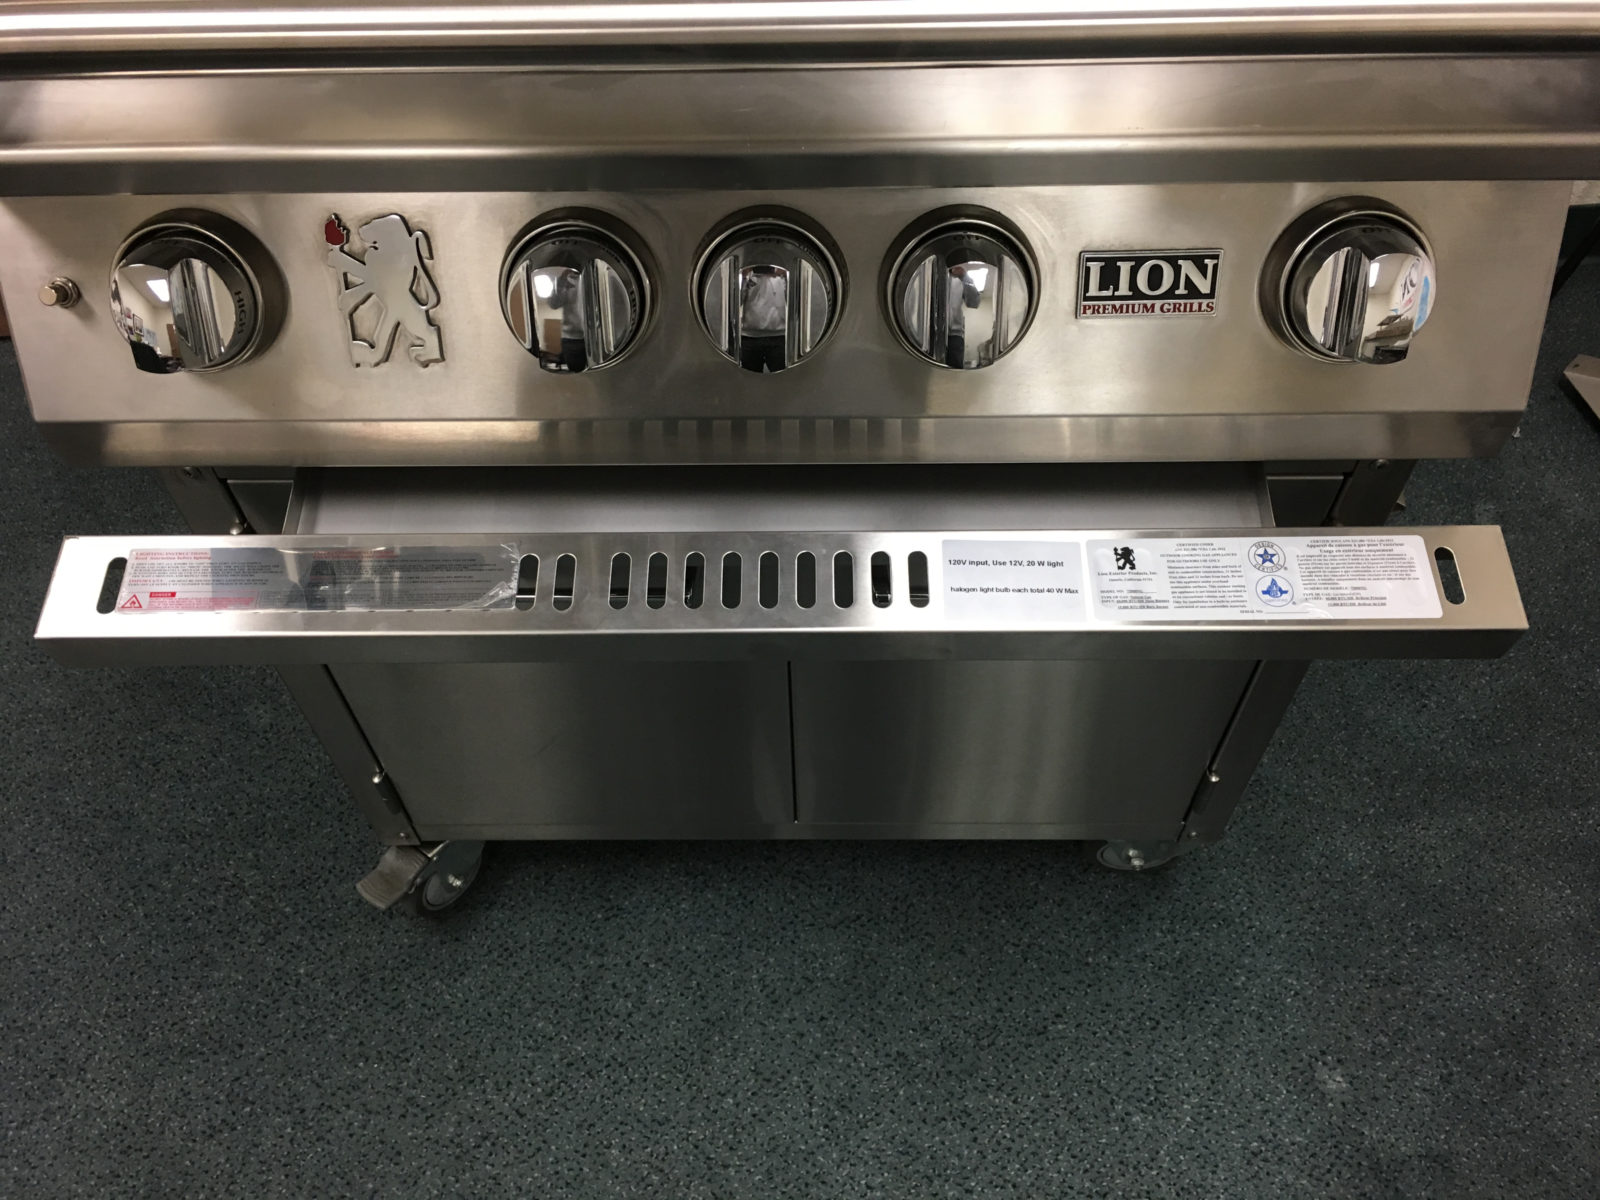
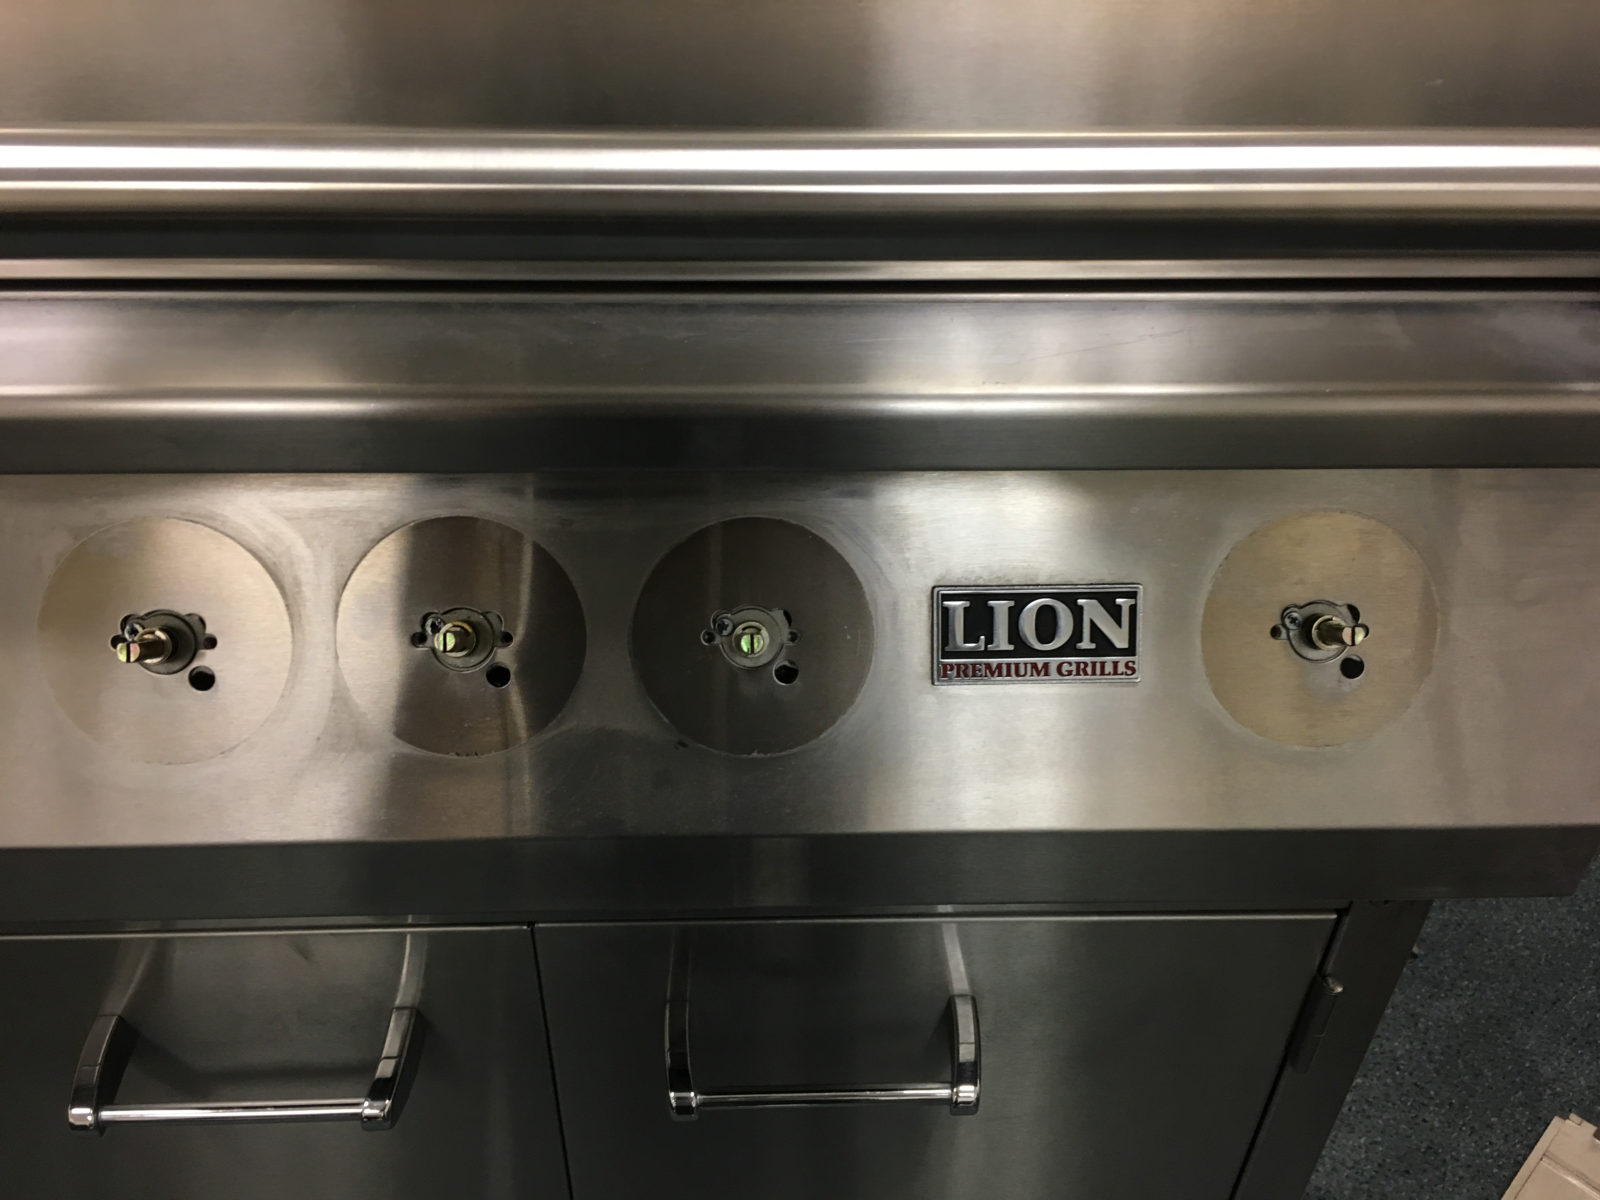
STEP TWO – On the control panel there are six total phillips head screws — three on the left and right side as shown in the picture above. Proceed to remove all six screws using your screwdriver.
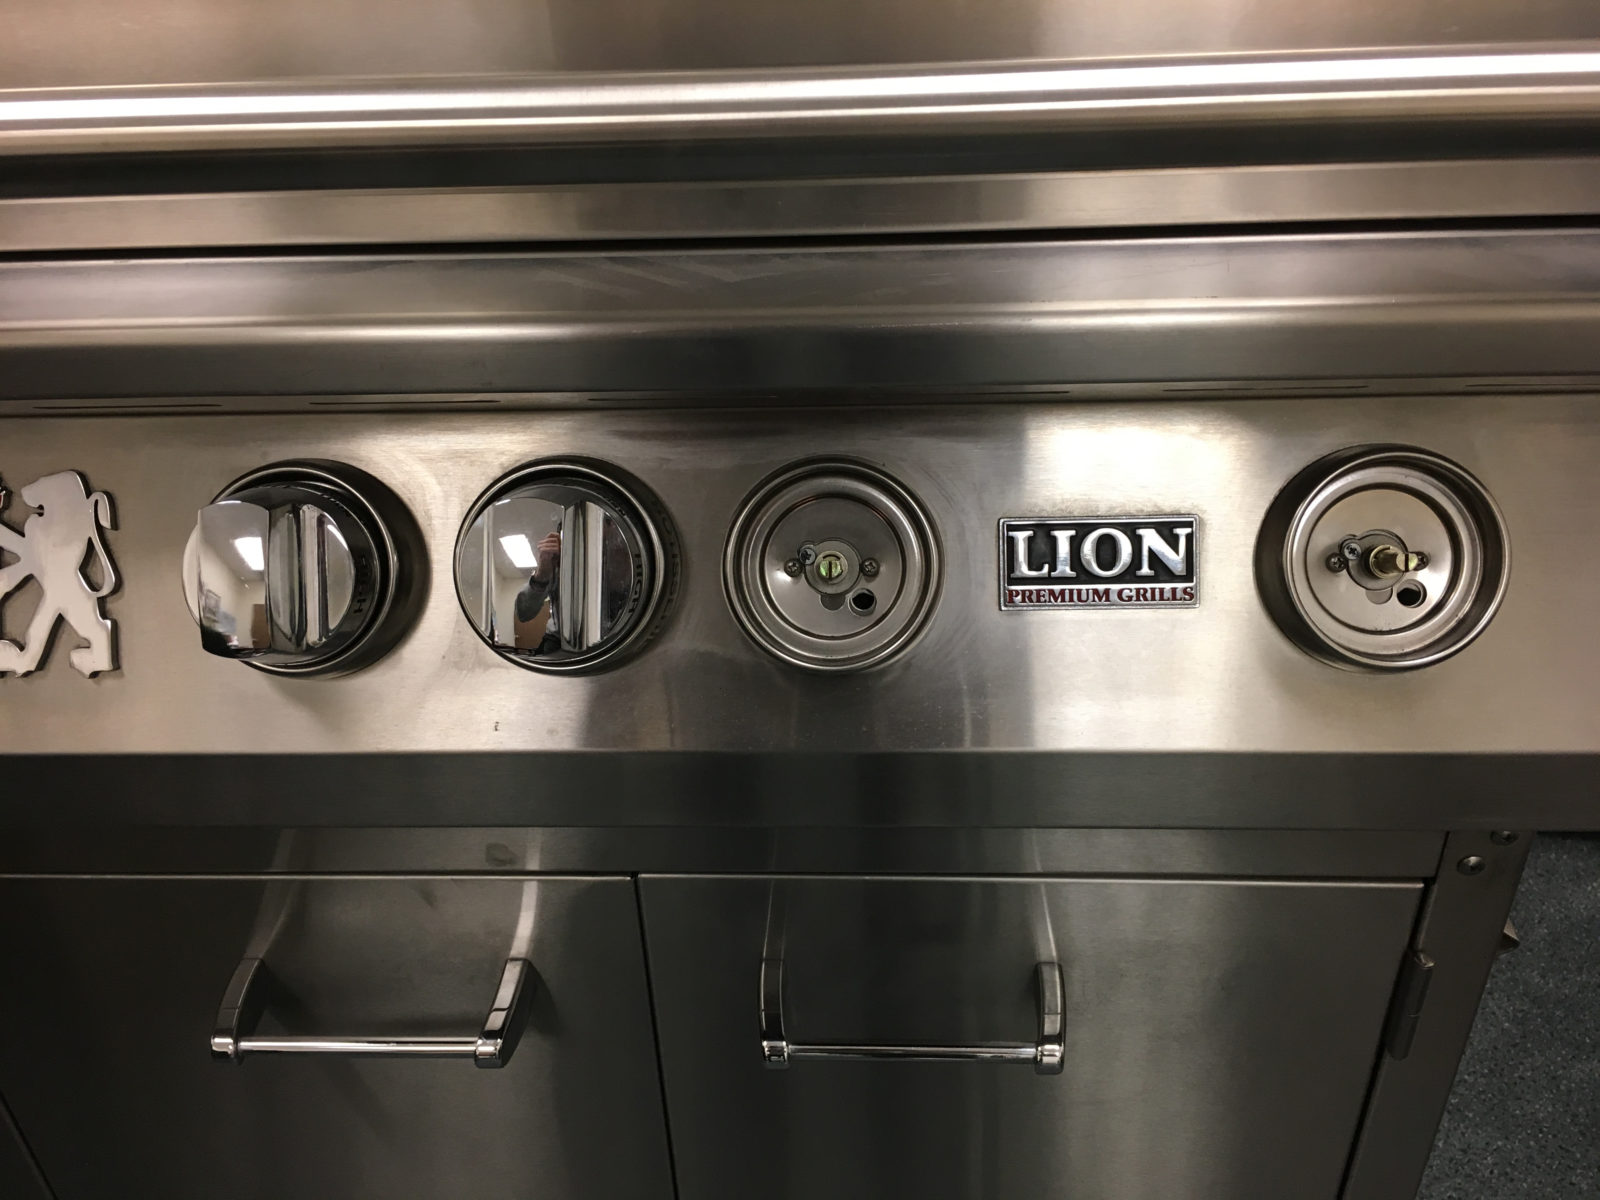
STEP THREE – Now you’ll need to remove all of the knobs on the front of the control panel. After doing this, you’ll be able to see two protruding screws on each empty knob position that hold the bezel in position; take your screwdriver and remove these screws.
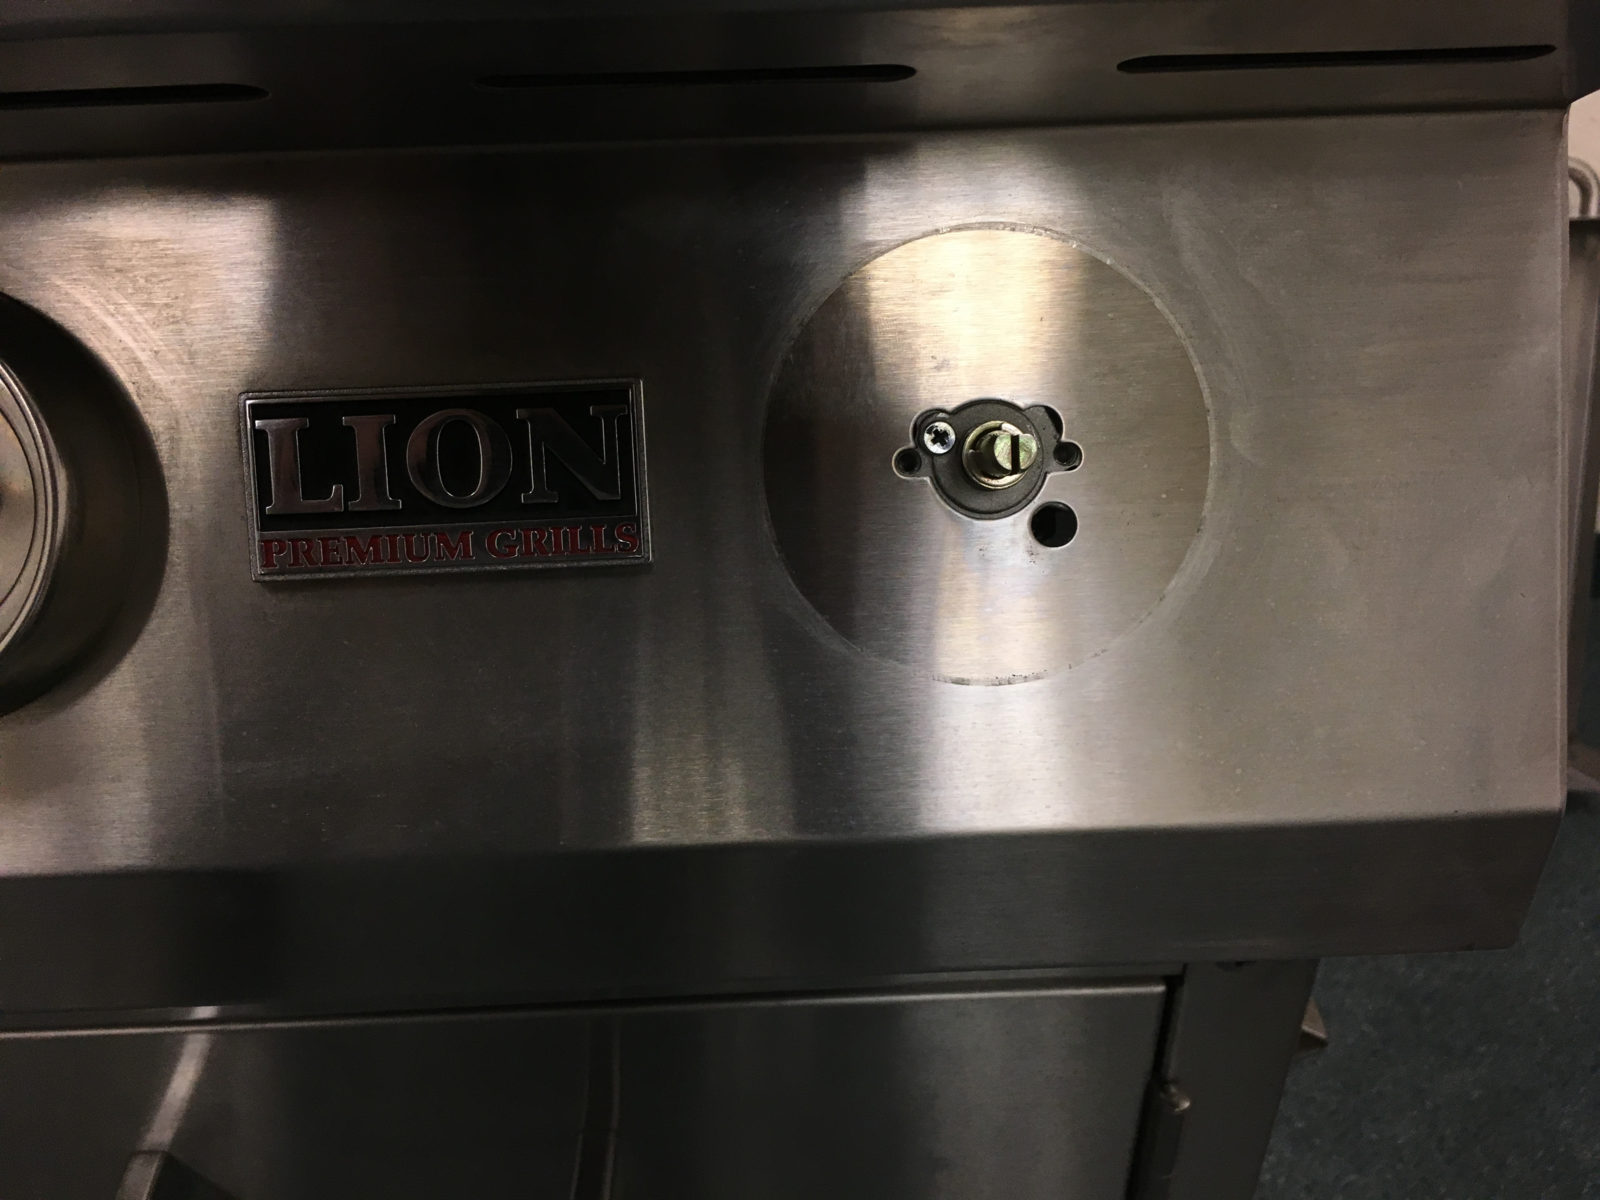
STEP FOUR – This is is just a closer look at which screws needed to be removed in order for the bezel to be taken off of the control panel.
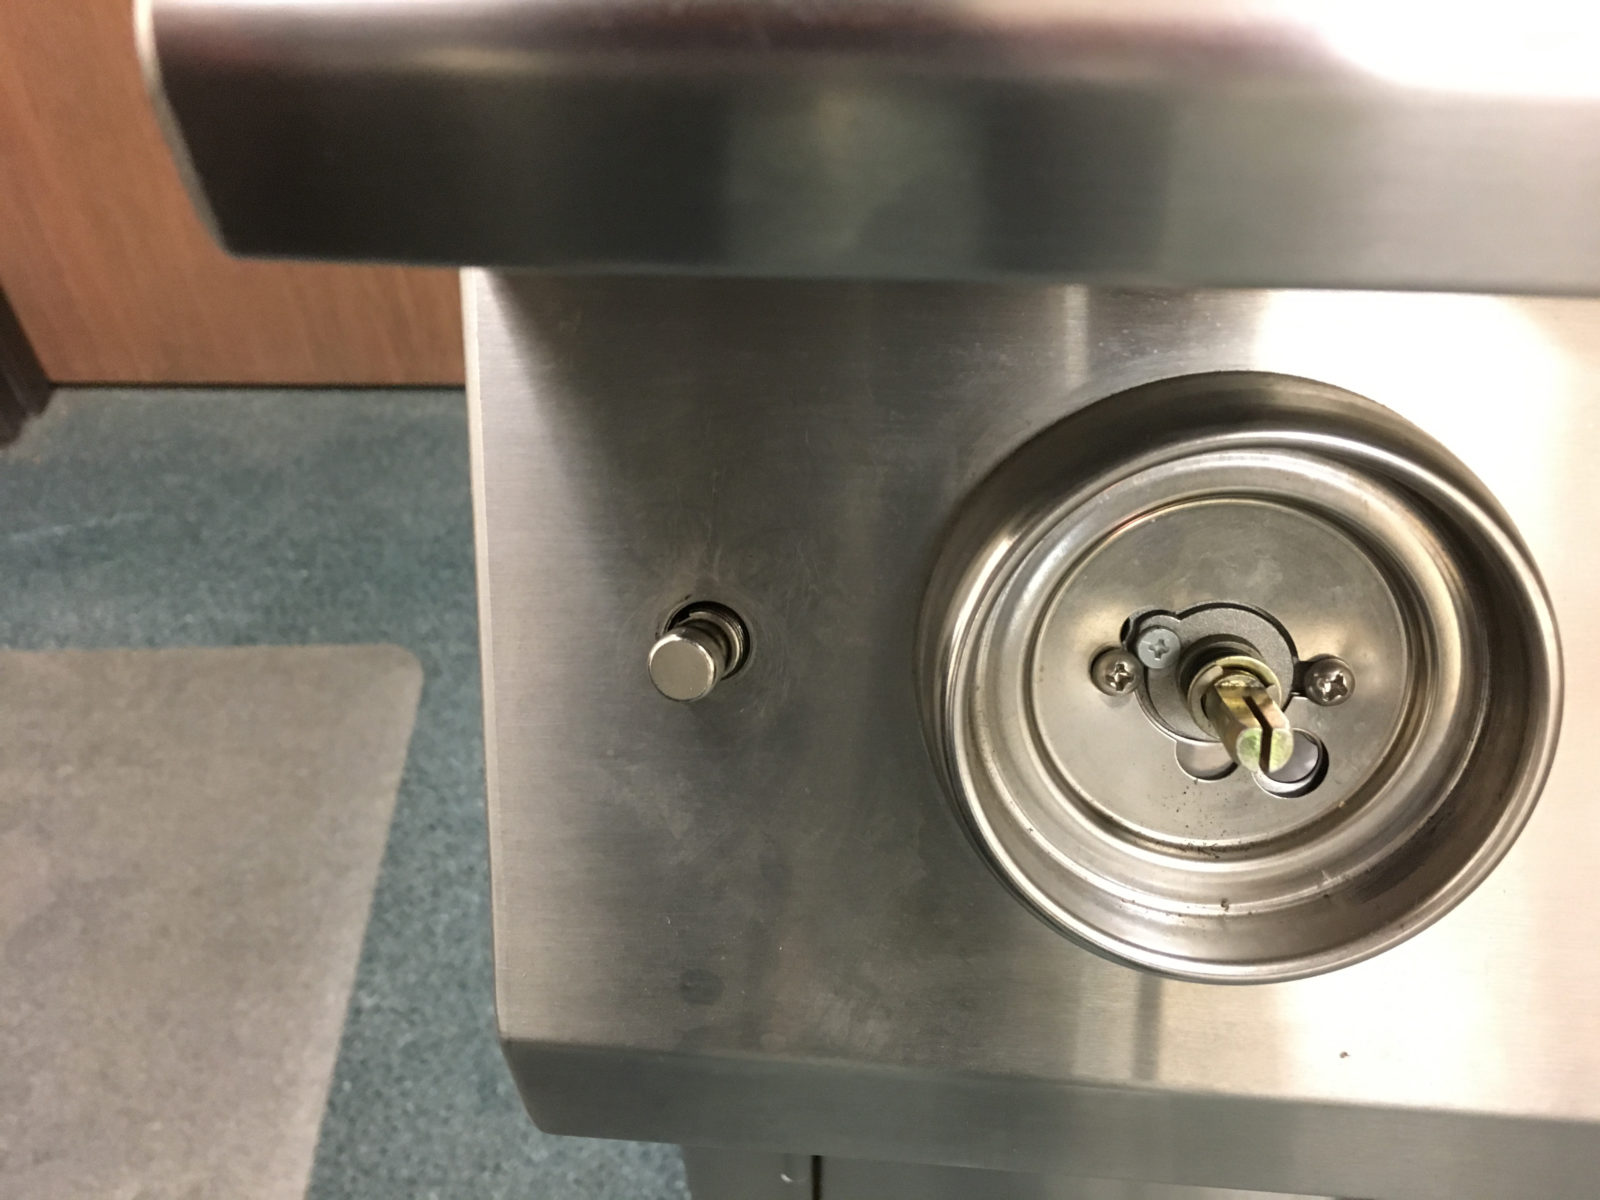
STEP FIVE – Take your crescent wrench and loosen the nut that is holding the light switch in place. It is preferable to use your fingers for the final removal of the nut.
STEP SIX – This is what the control panel should look like when it is ready for removal. Be careful to not damage or pull any of the wires when removing the control panel.

STEP SEVEN – Now all of the valves are exposed.
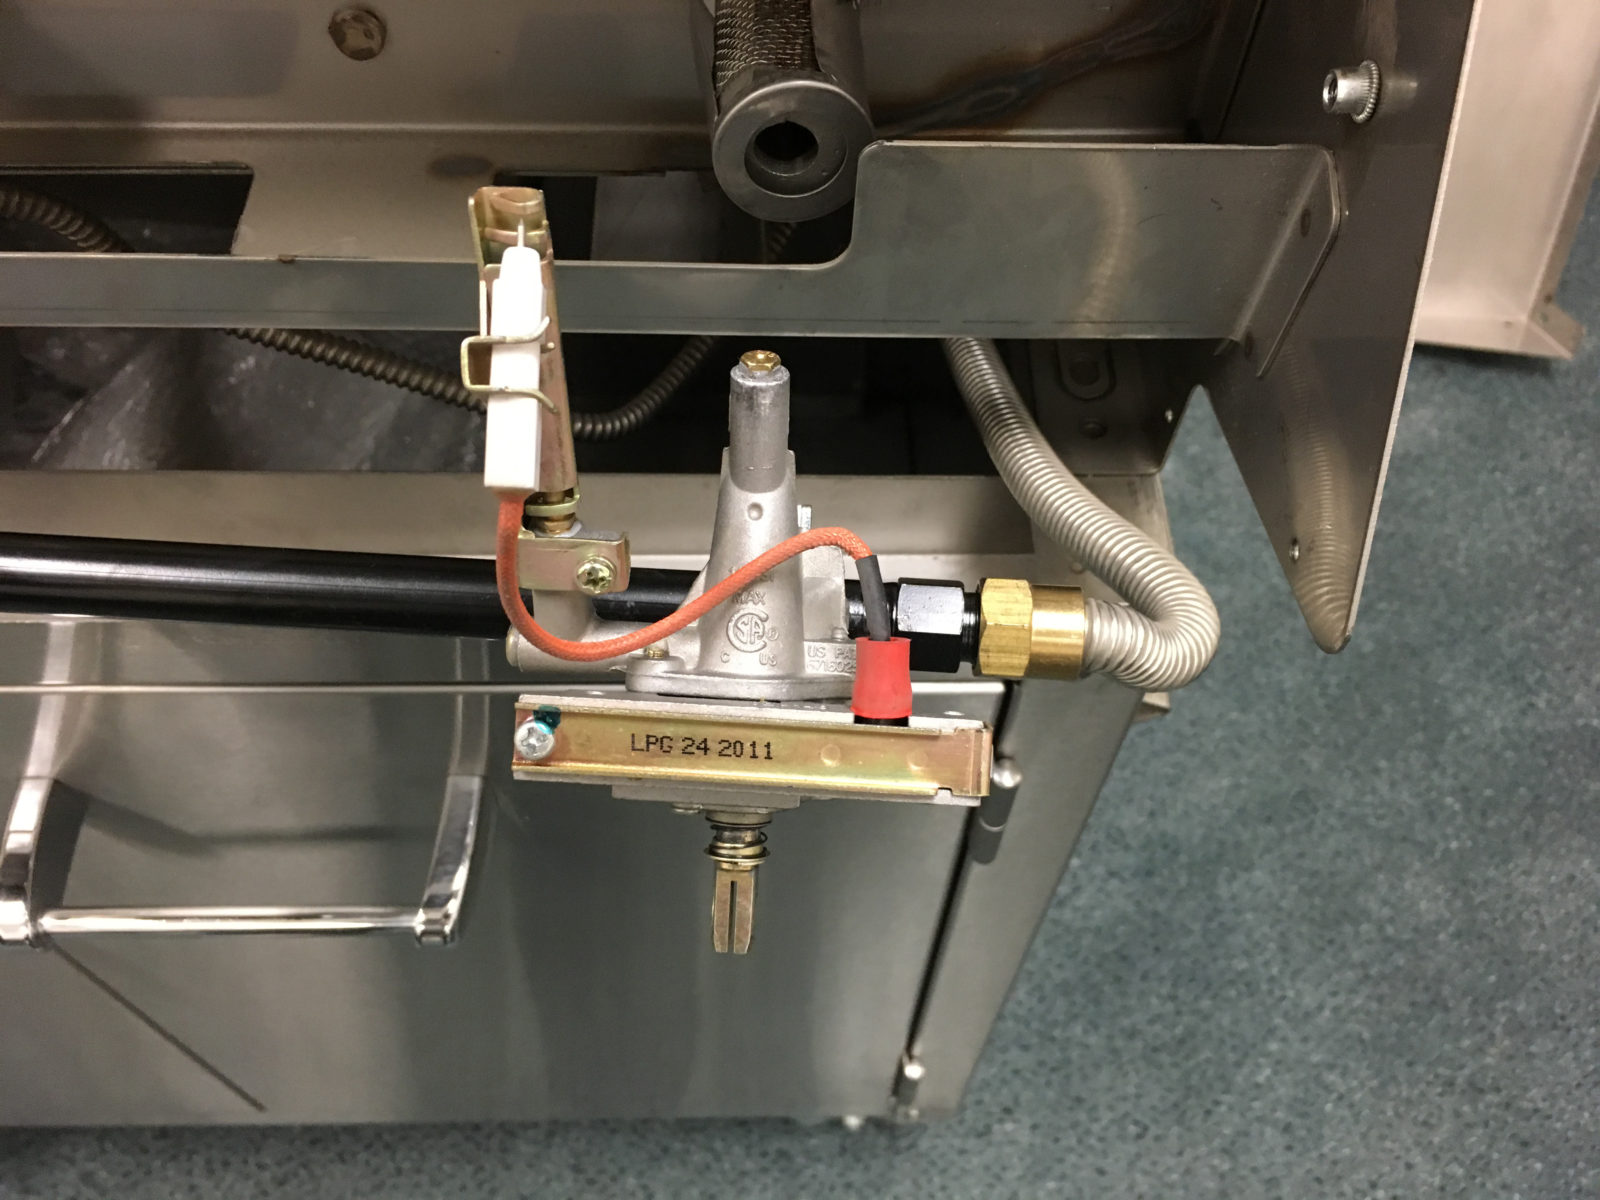
STEP EIGHT – Now the valve(s) can be removed from the manifold. In order to do so, first remove the bottom screw on the clip that holds the valve tight to the manifold.
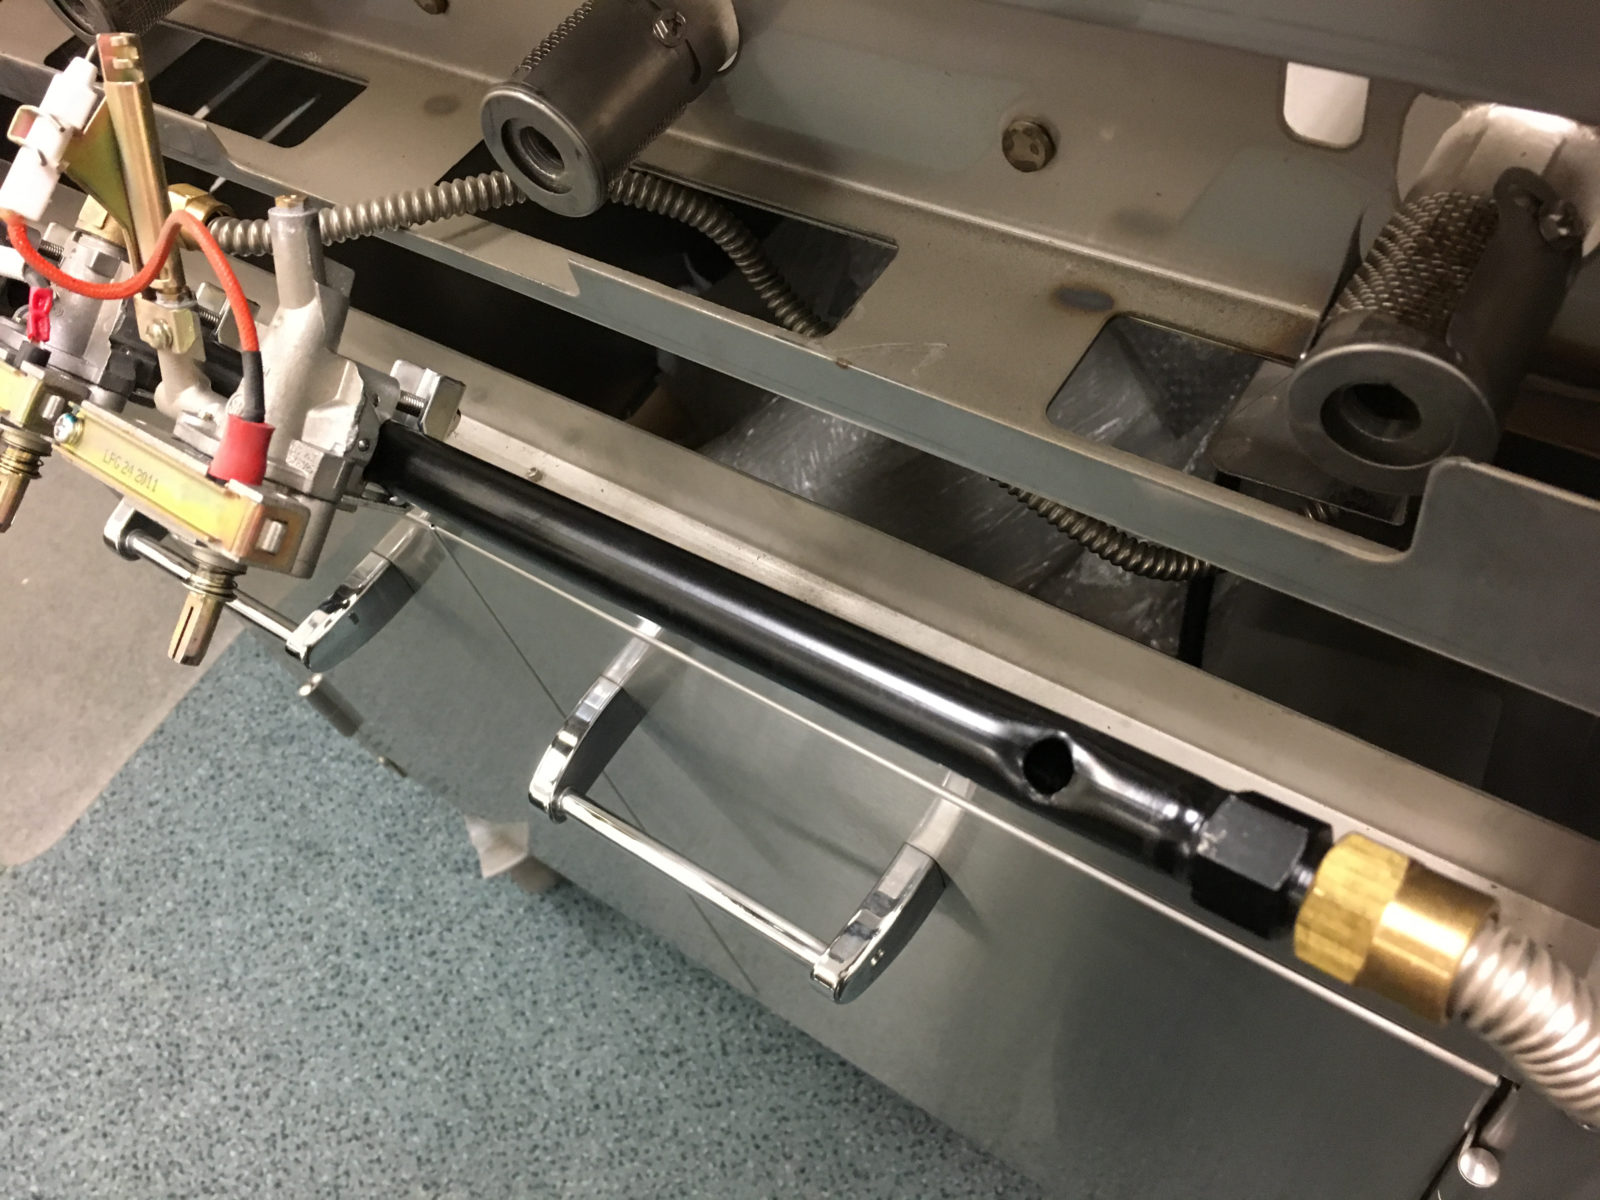
STEP NINE – Once the clip is off, the old valve can be fully removed and swapped for a new valve. Repeat this process as necessary. Reverse this process to connect a new valve.
That’s how the process of removing and replacing a valve breaks down. If there are any questions or issues encountered along the way please do not hesitate to give us a call. Thank you!